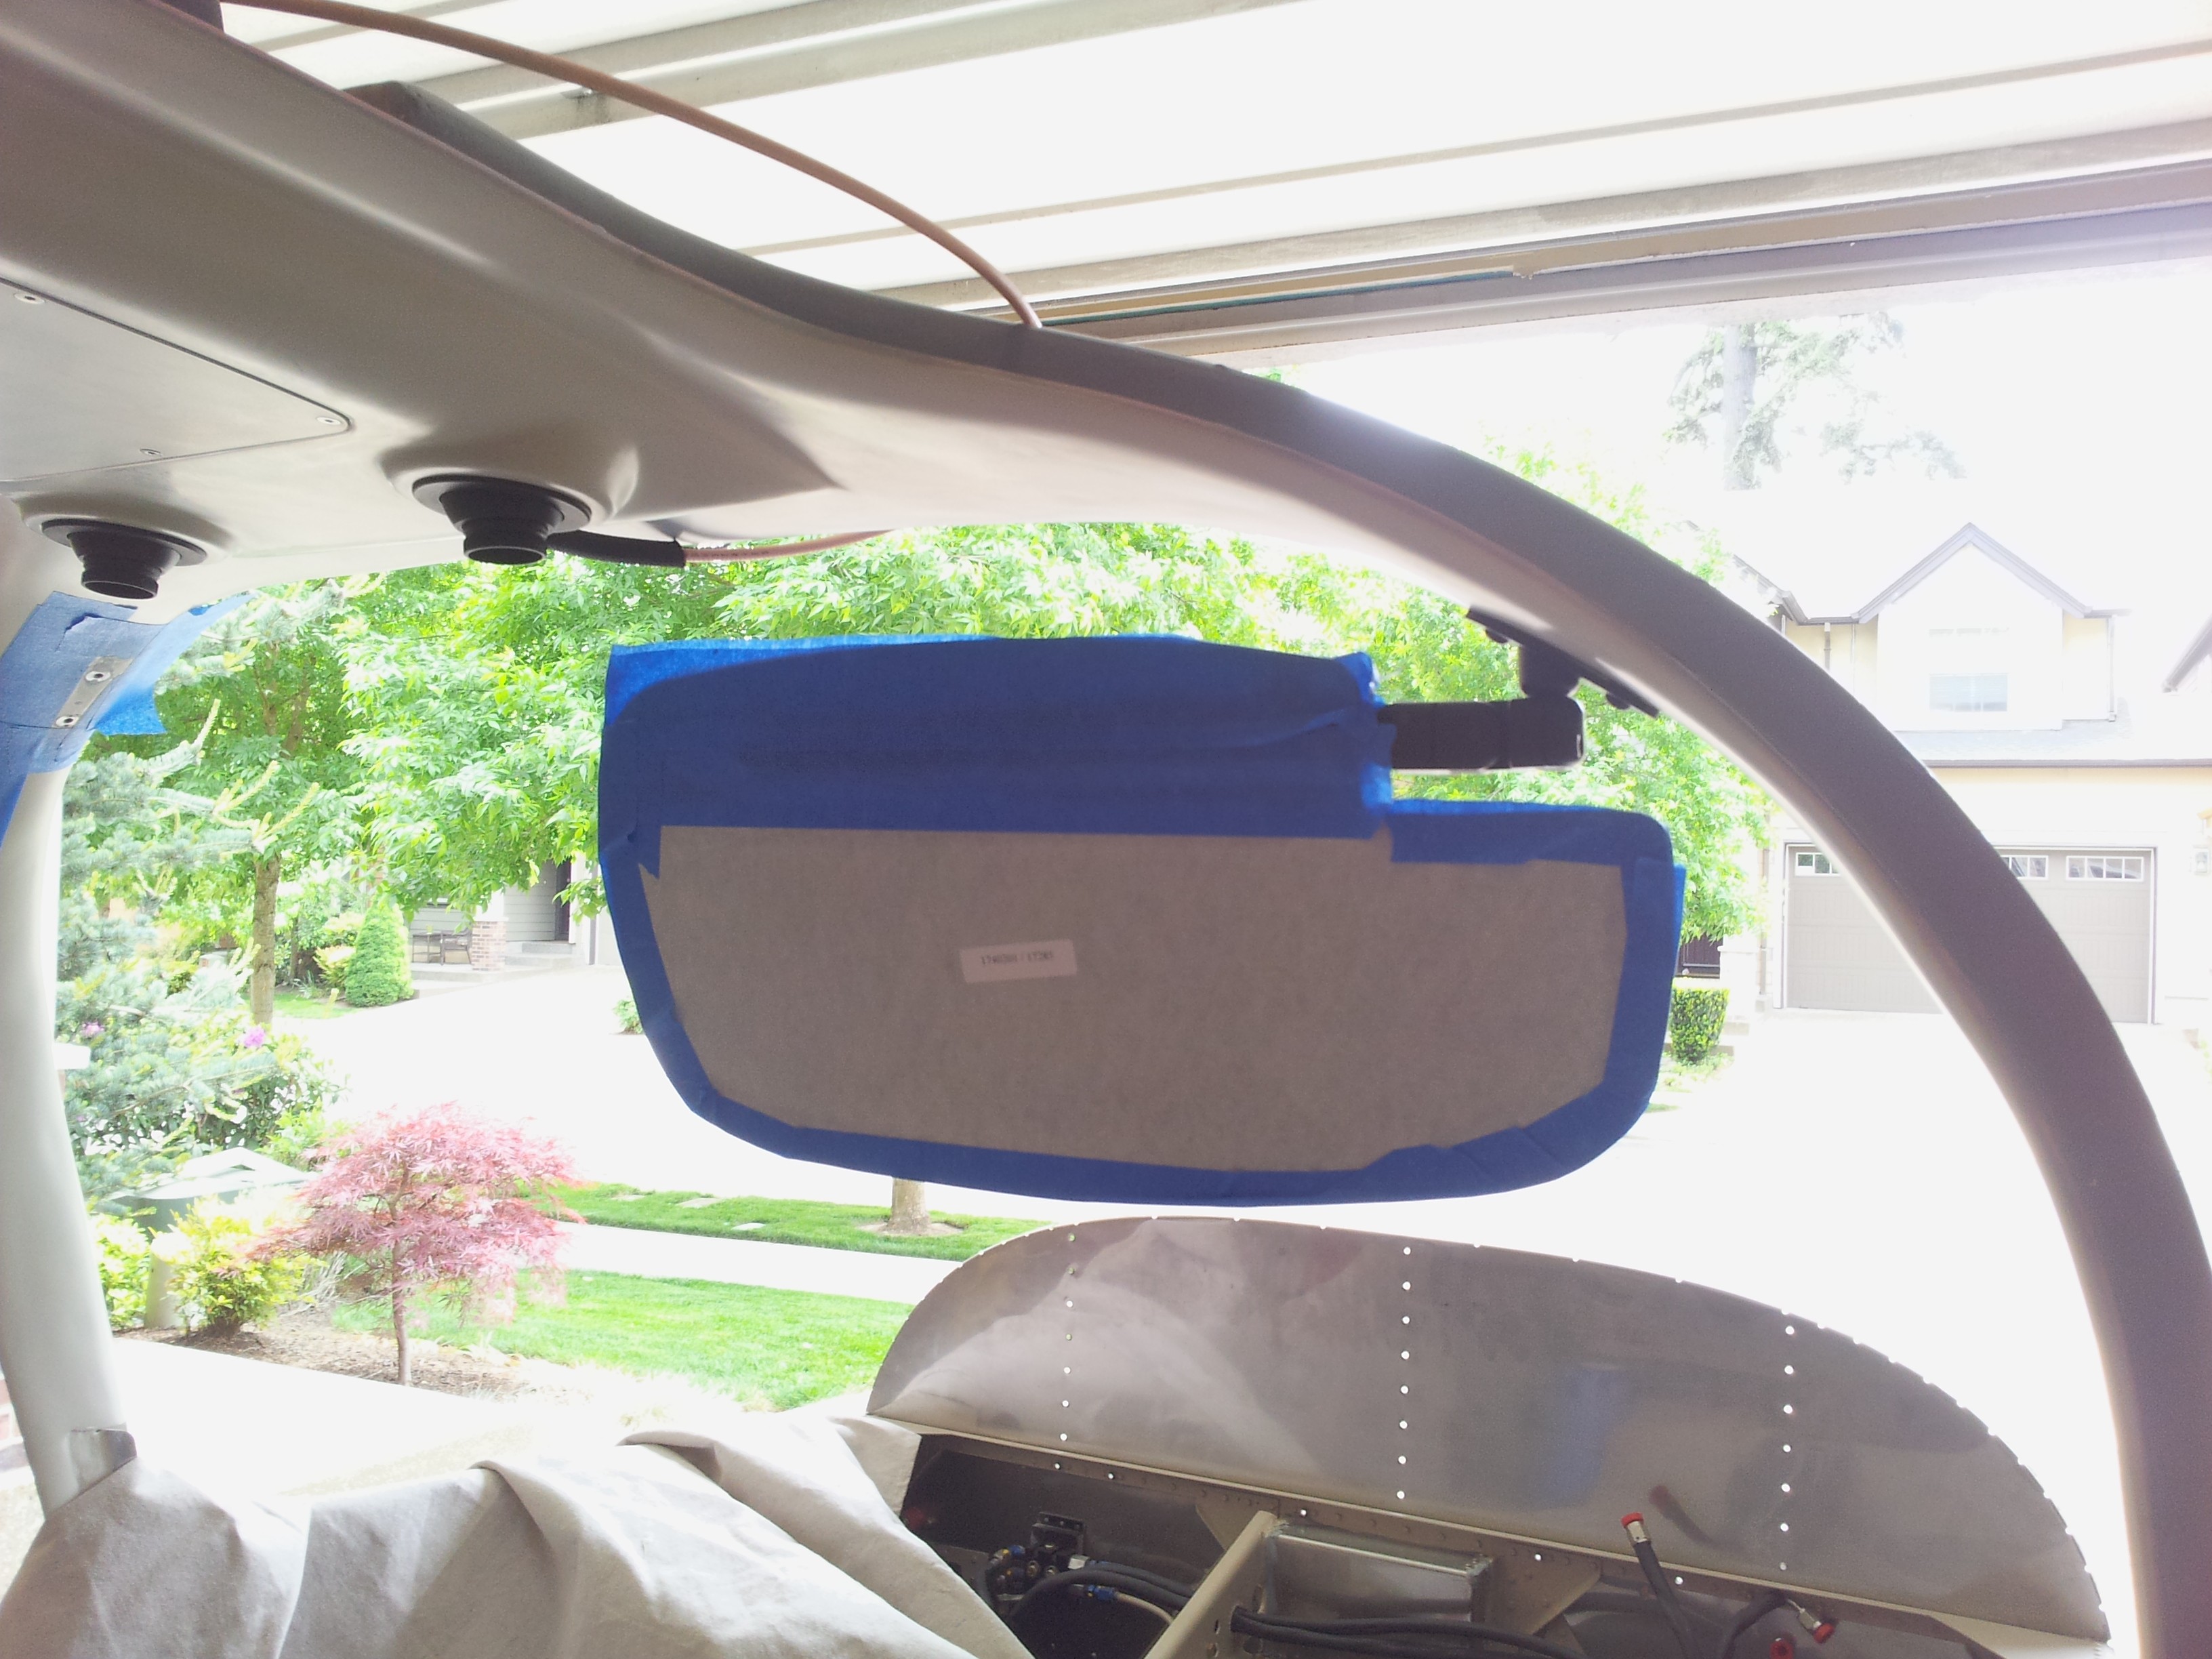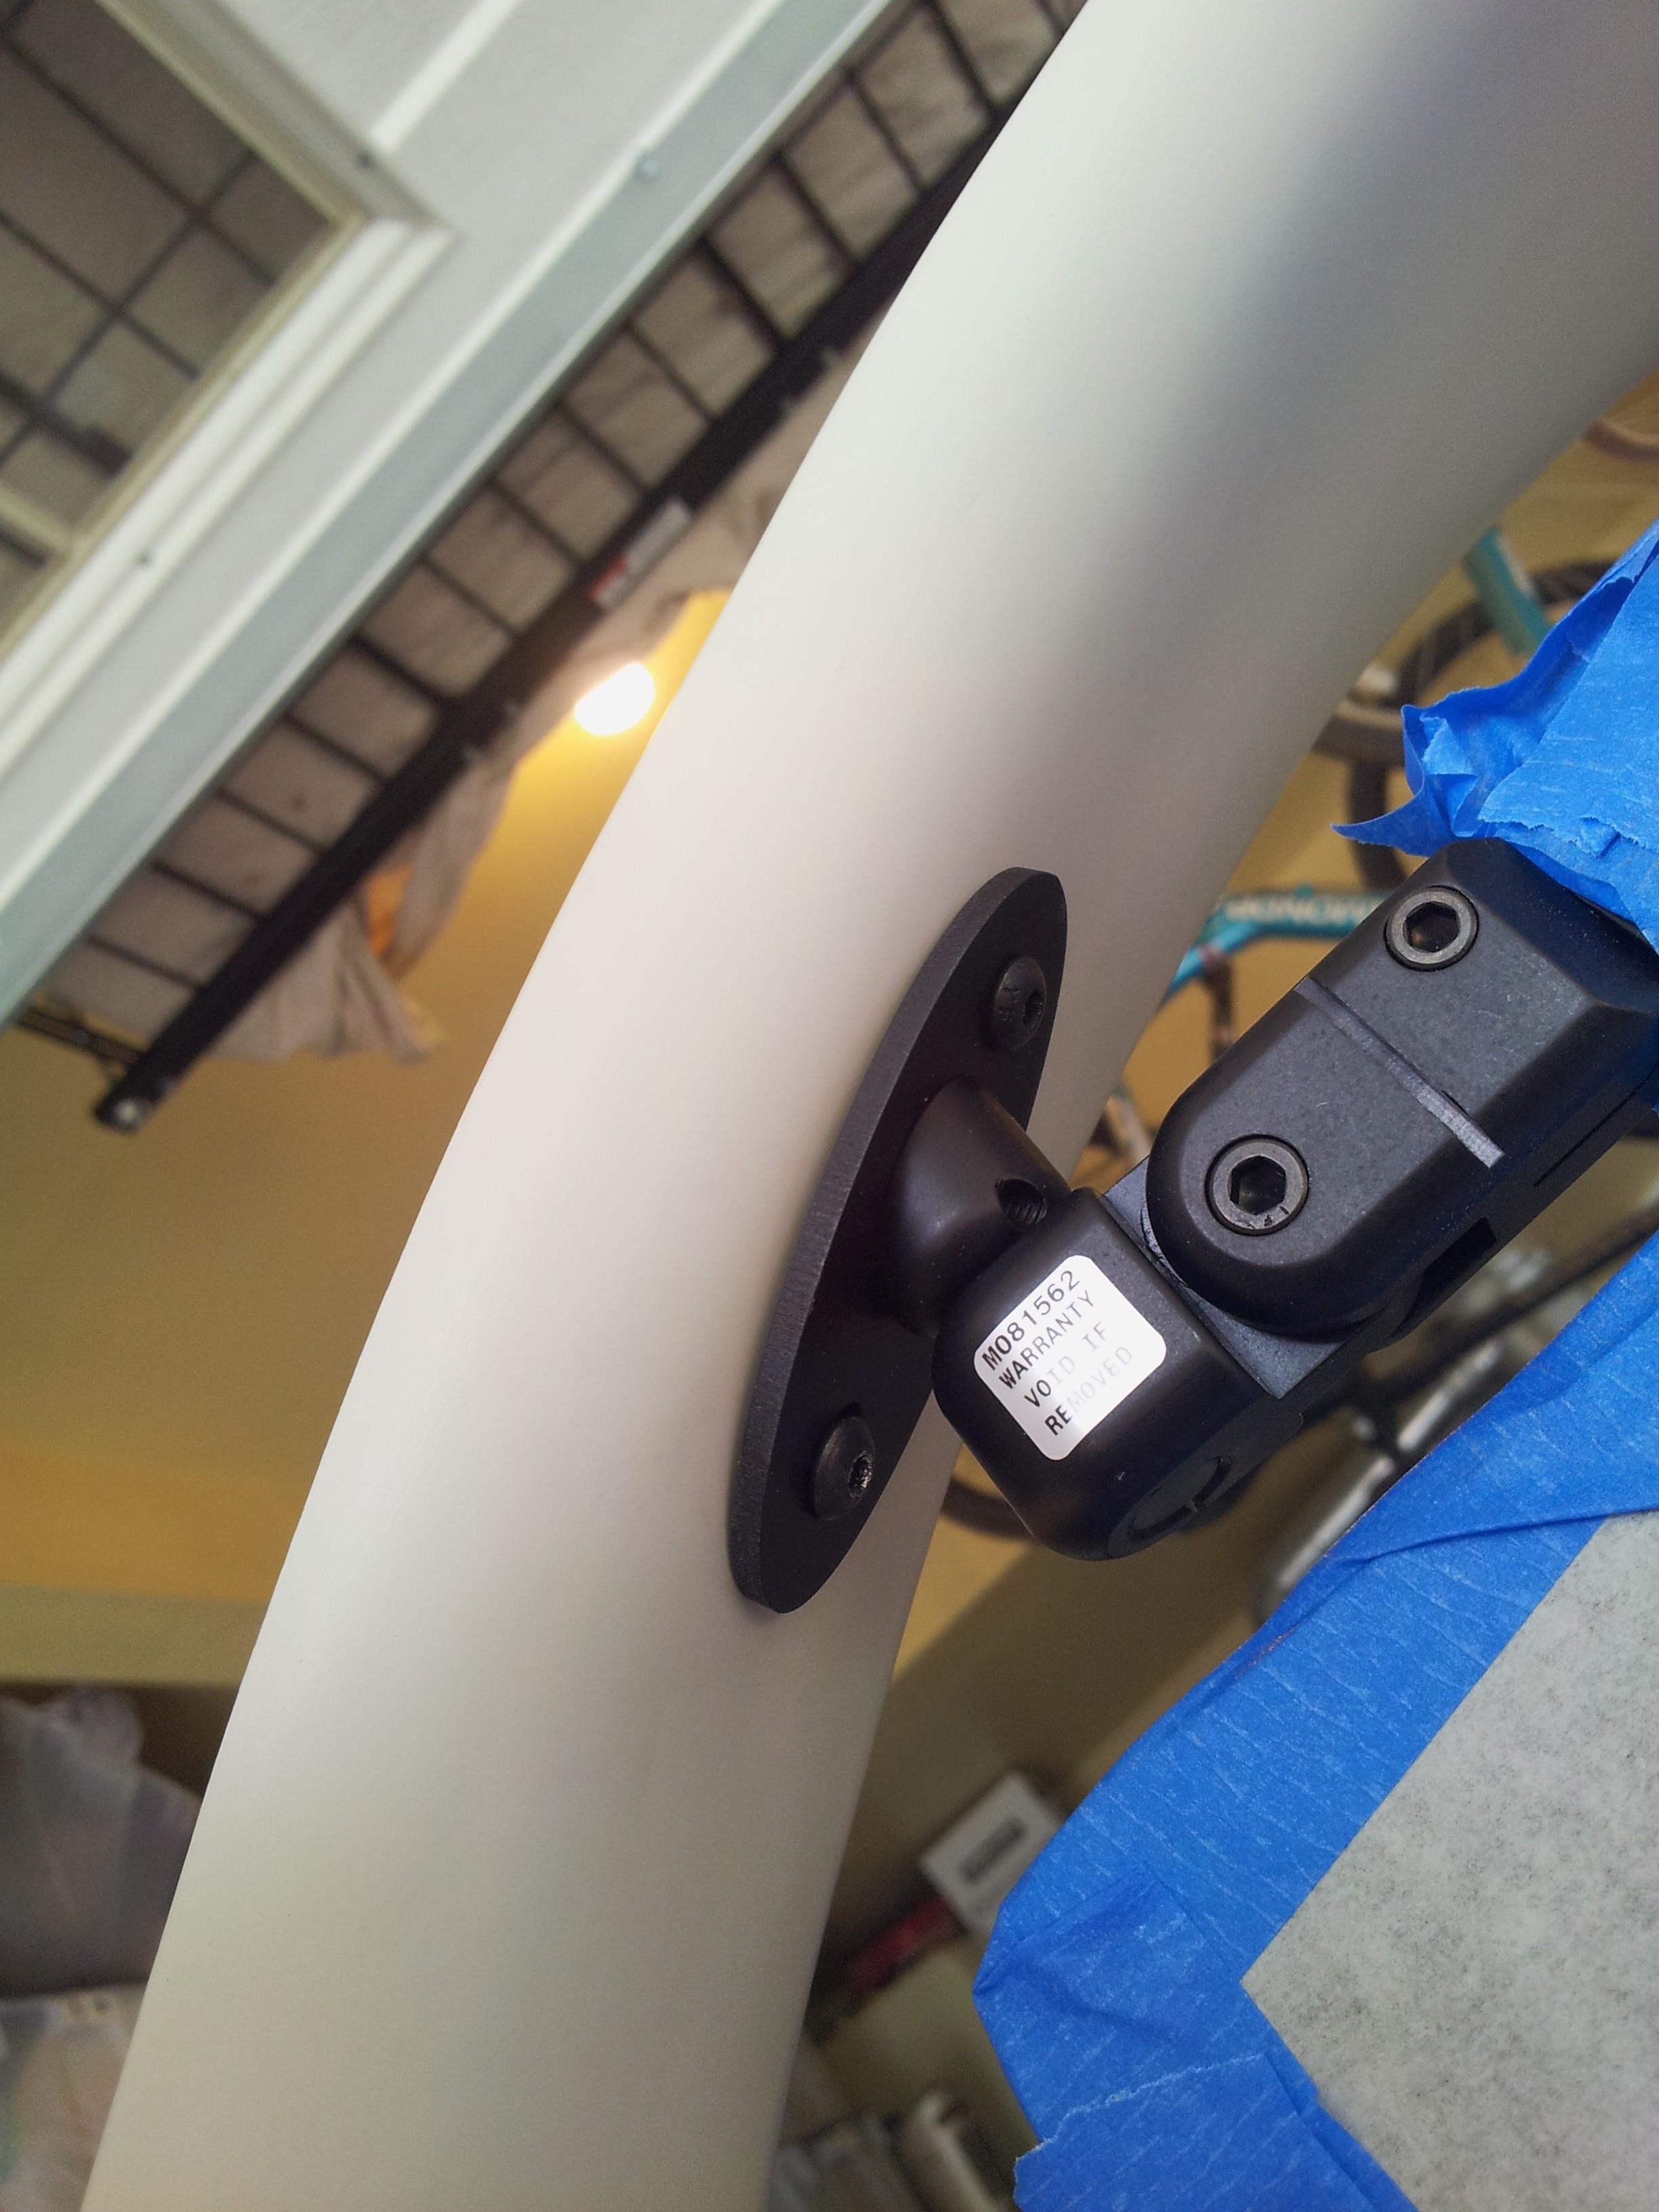
I started the day with getting some screws I needed to mount the Rosen Visors. I am using some black alloy steel #10 screws that are 3/8″ long. I got the right visor mounted and taped up for protection. Looks great and is an awesomely clean install – quite happy with how this turned out. Months of planning and it actually worked exactly like I had hoped it would – with no external canopy hardware needed.
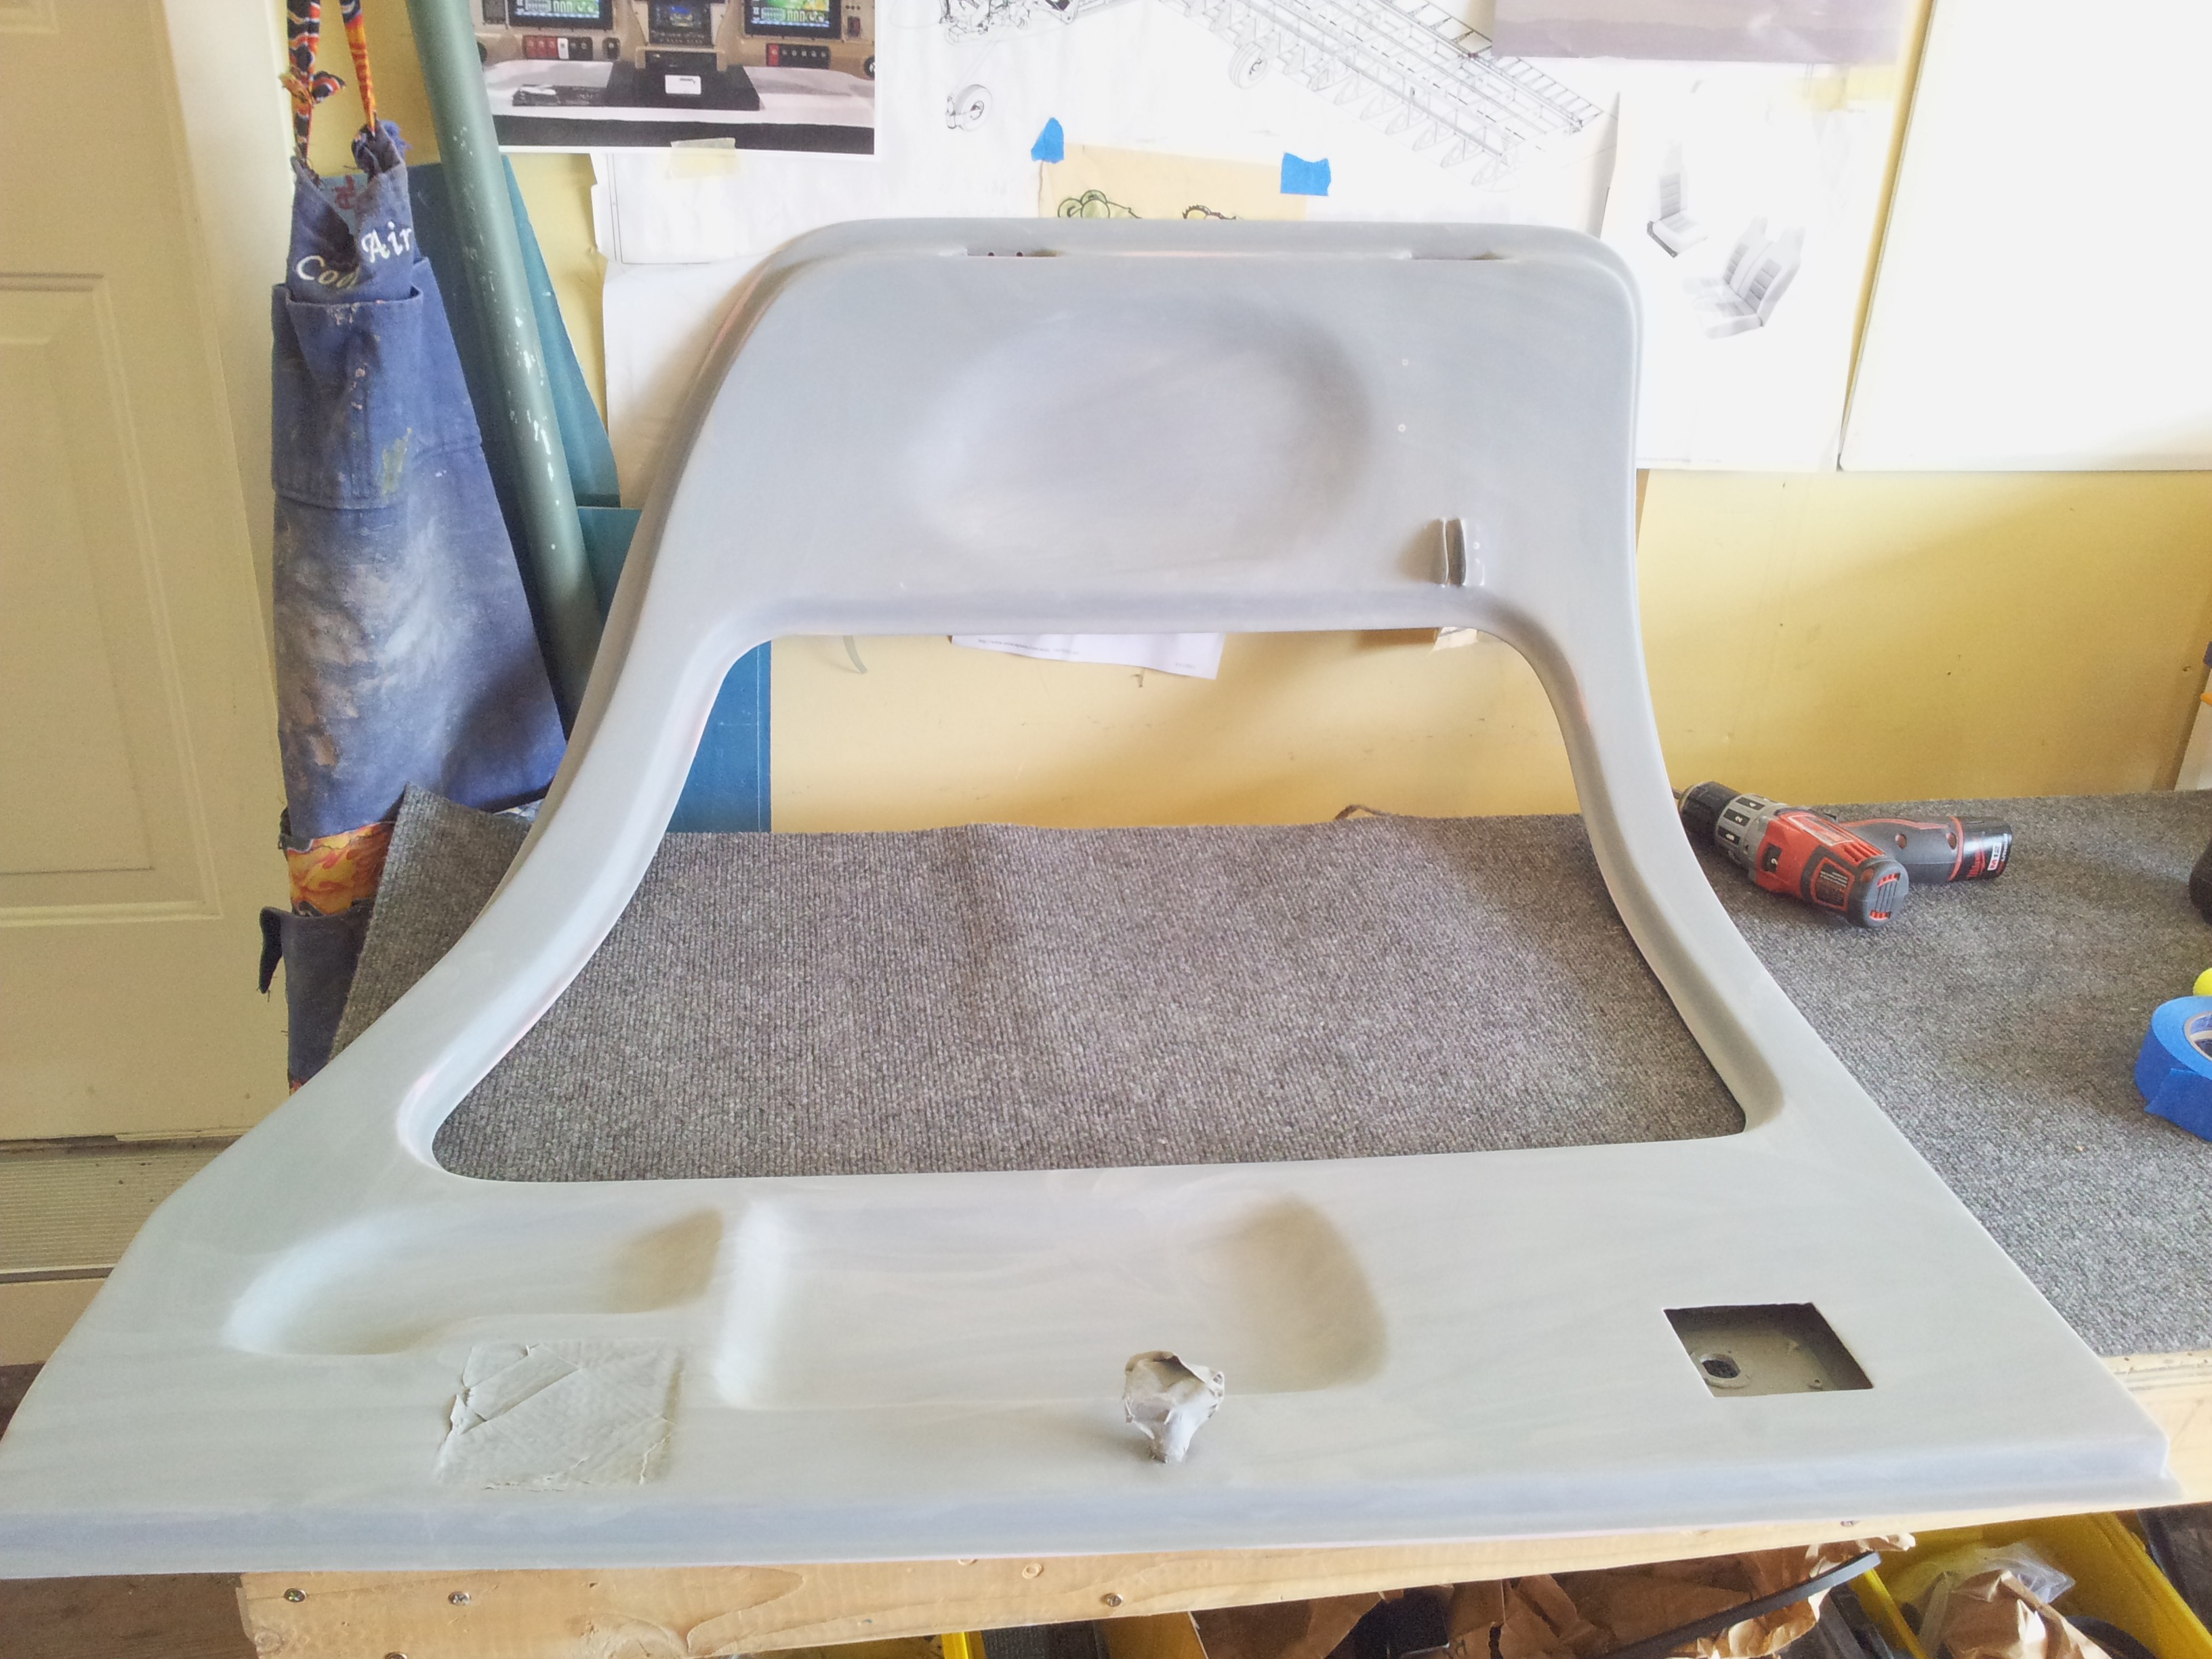
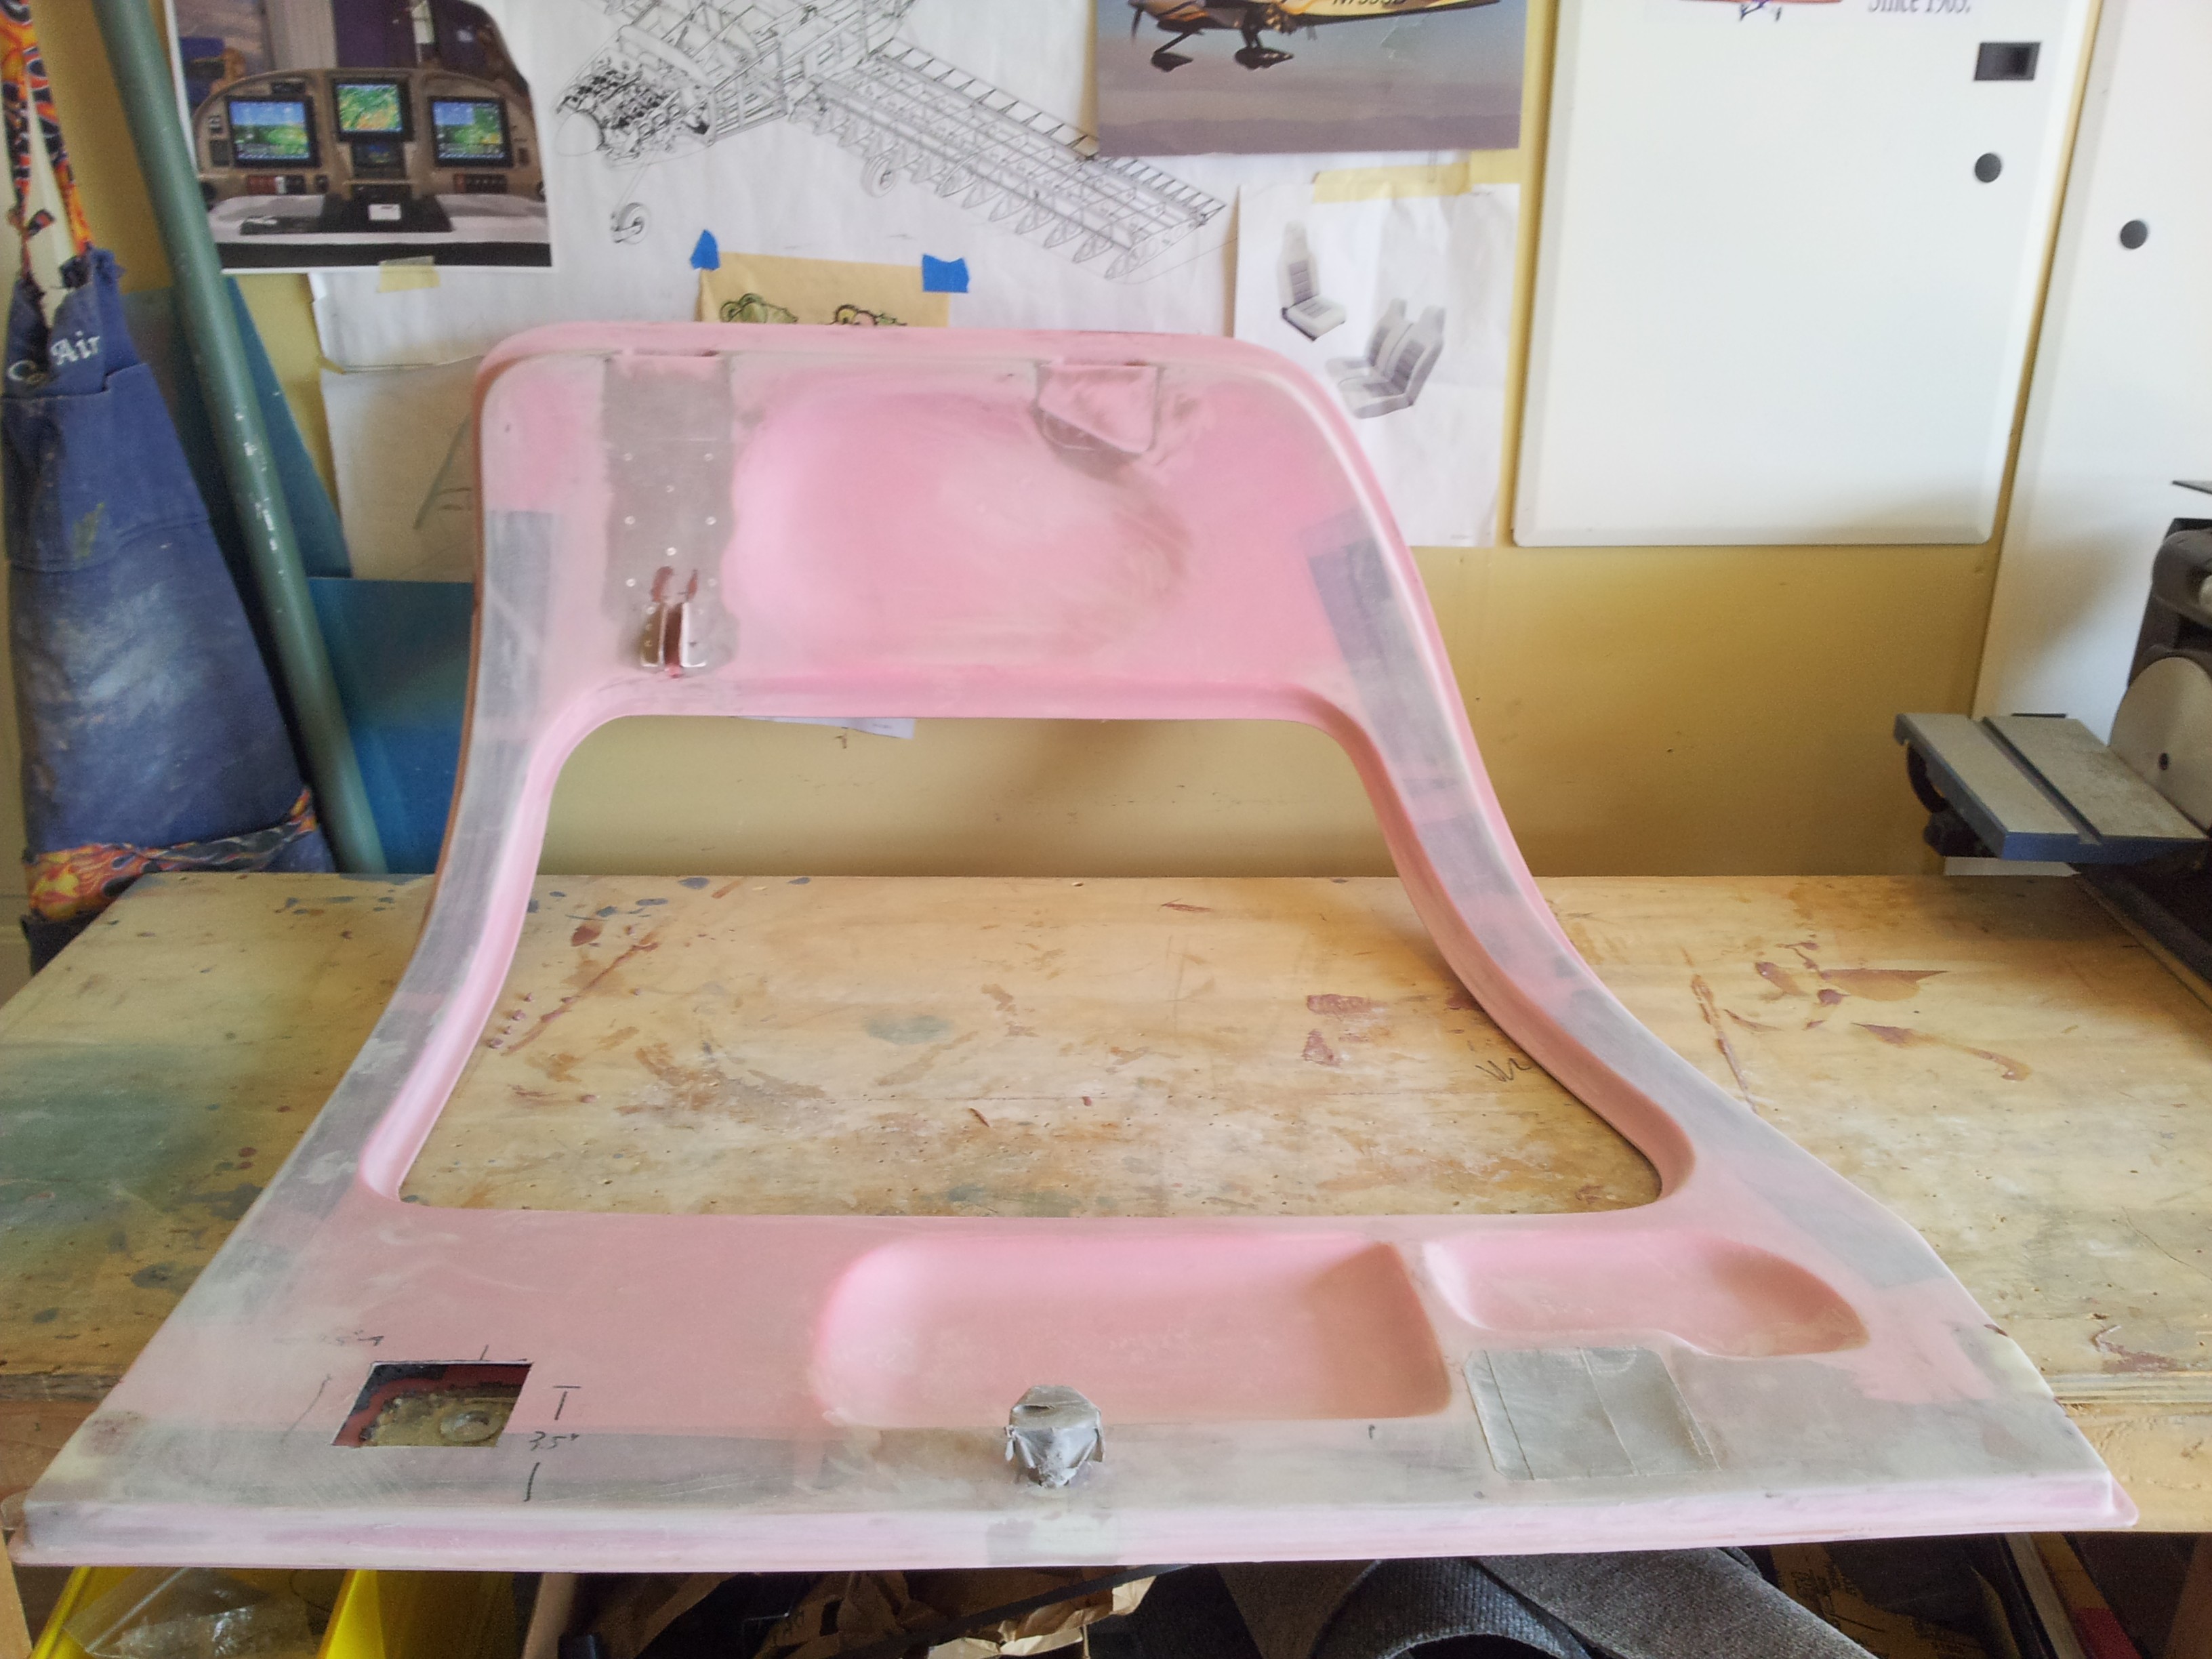
I turned to the right door which is almost ready for paint. I lightly sanded the last primer coat and it looks like all the pinholes are gone. So I moved onto working on closing up the inspection panel for the lock area. I first saw this in another builders project (David) which I believe he got from his advisor or fiberglass expert (Leighton). I cut some strips of fiberglass scrap and epoxied these to the interior of the opening around the interior lock opening. These will eventually support the door when it is installed, one will also have a nutplate and allow the door to be screwed into place.
I hit the left door as well and this time I was able to sand it without the die grinder. I used some 60 grit paper and a hand block and smoothed out the lightweight filler. I mixed up a little more lightweight and applied to a few remaining defects. I also taped off the door handle area now that the patch in front of it is complete.
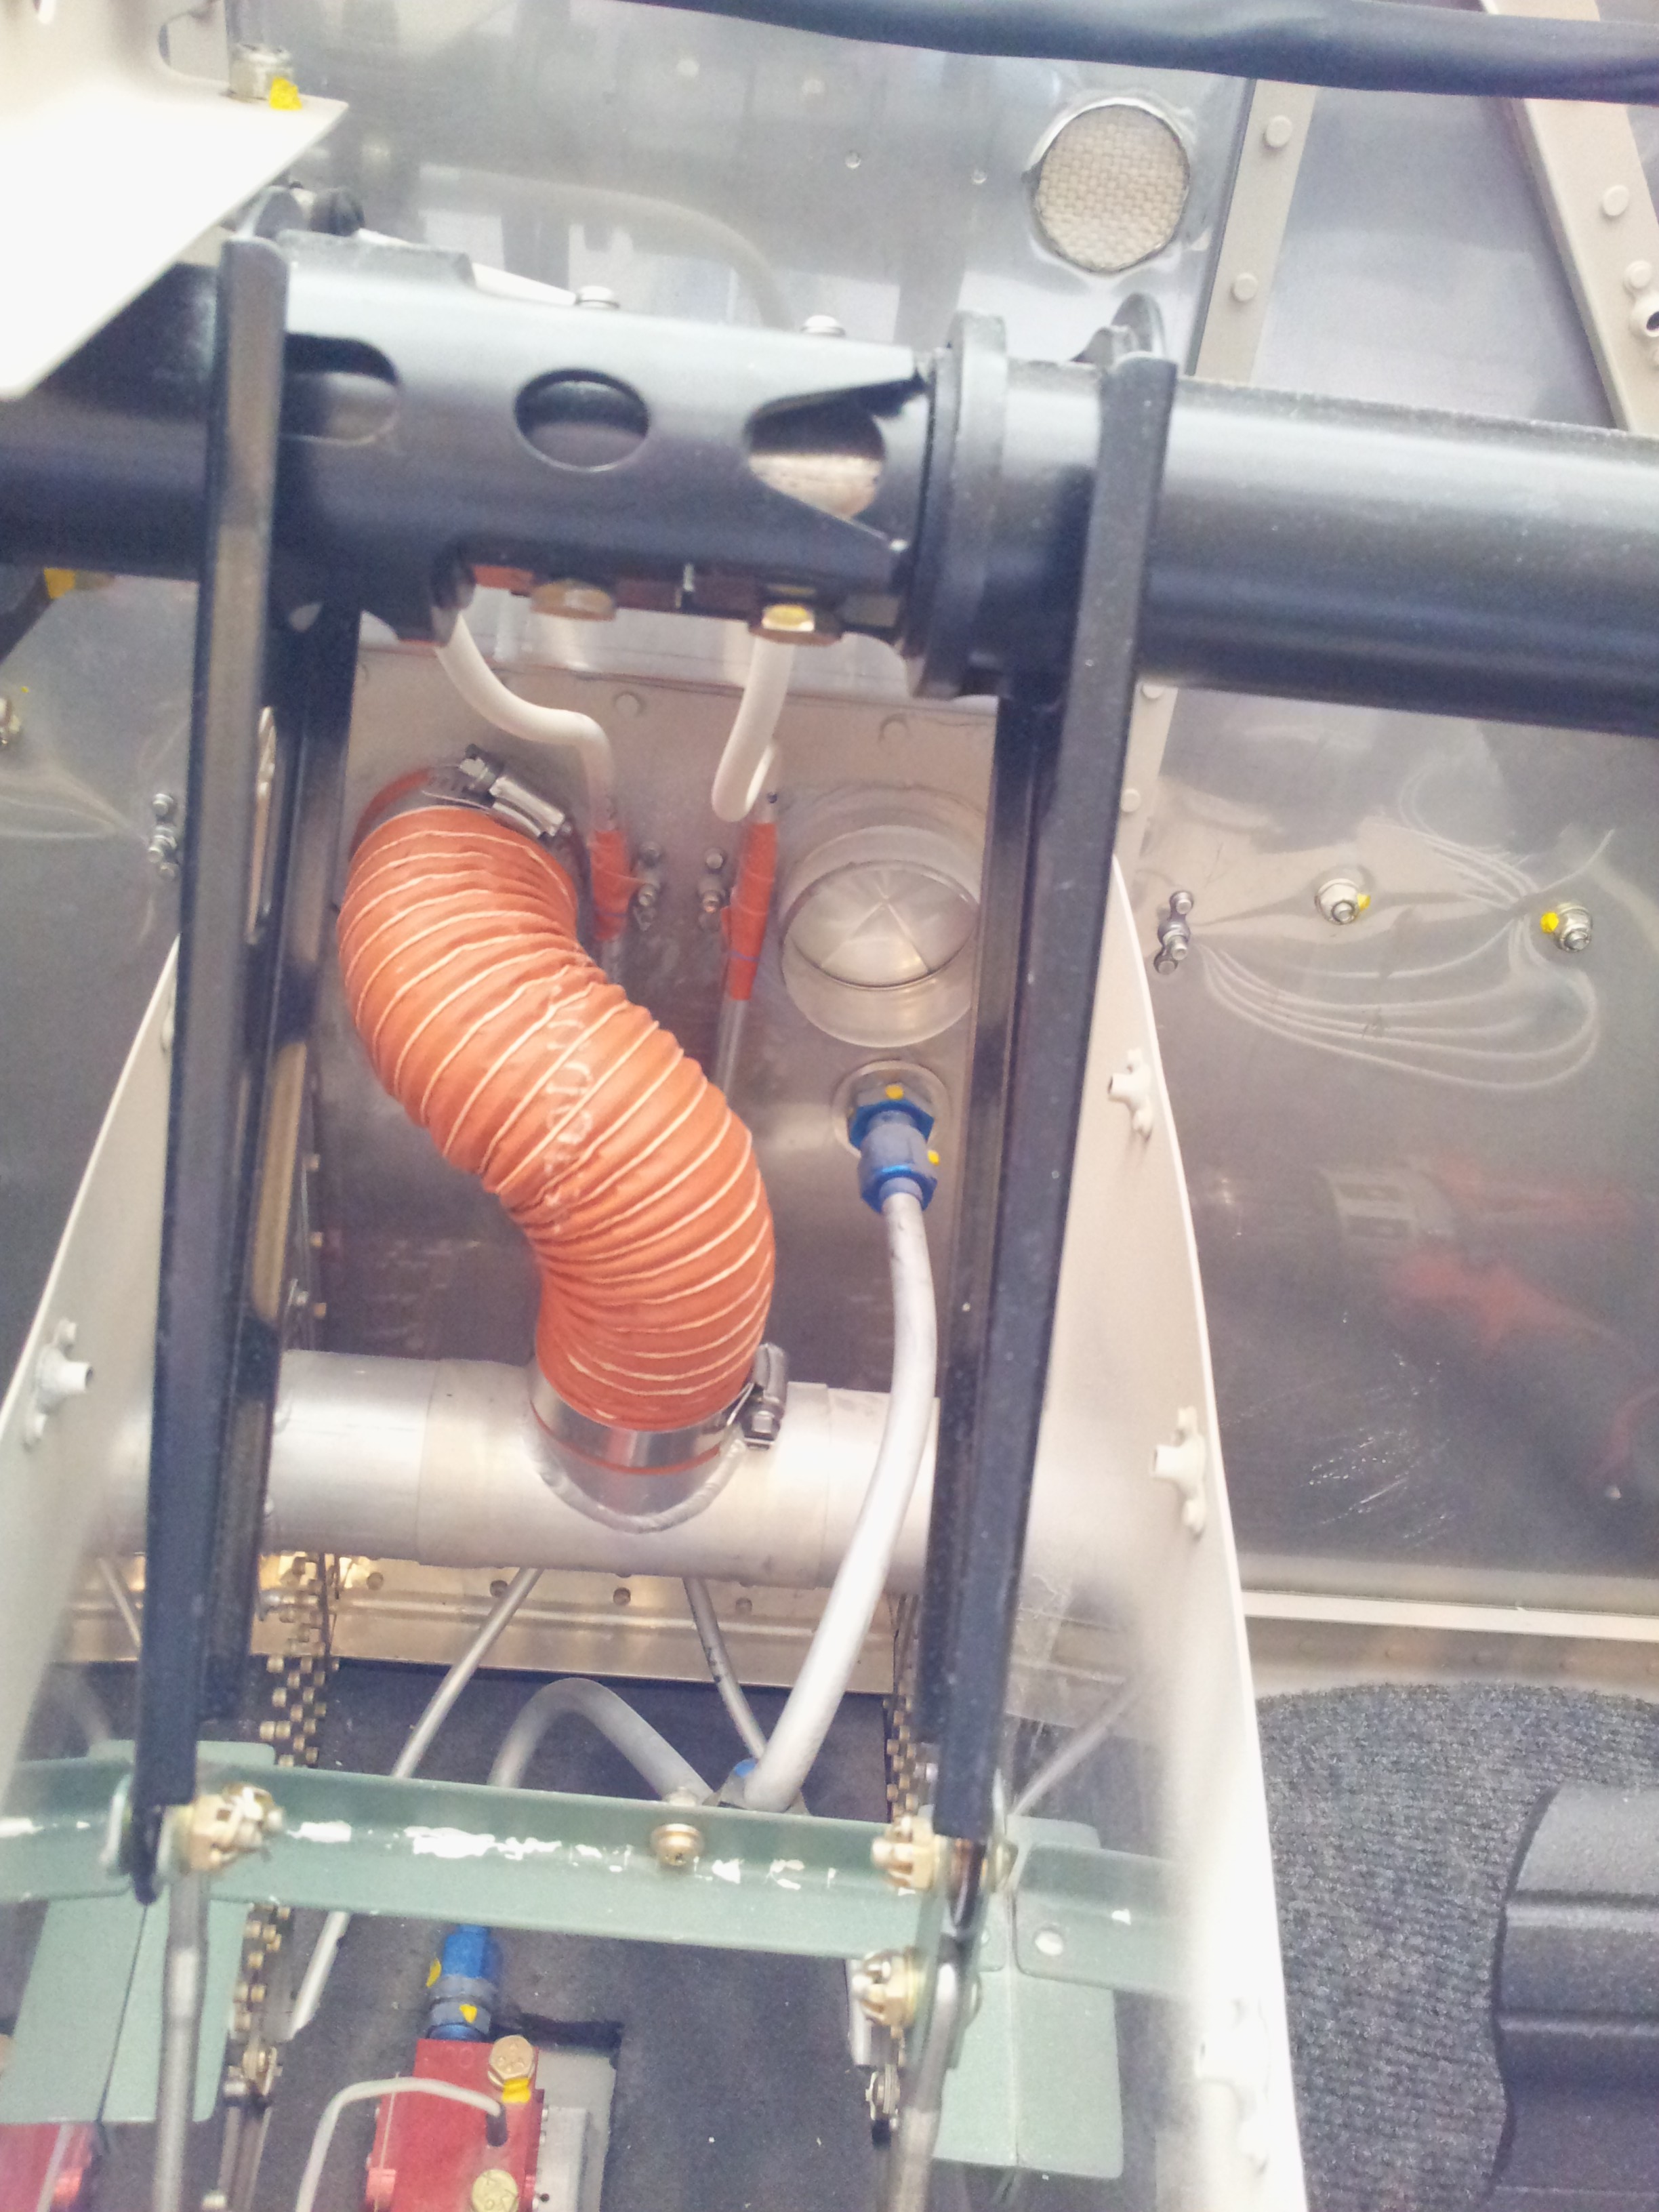
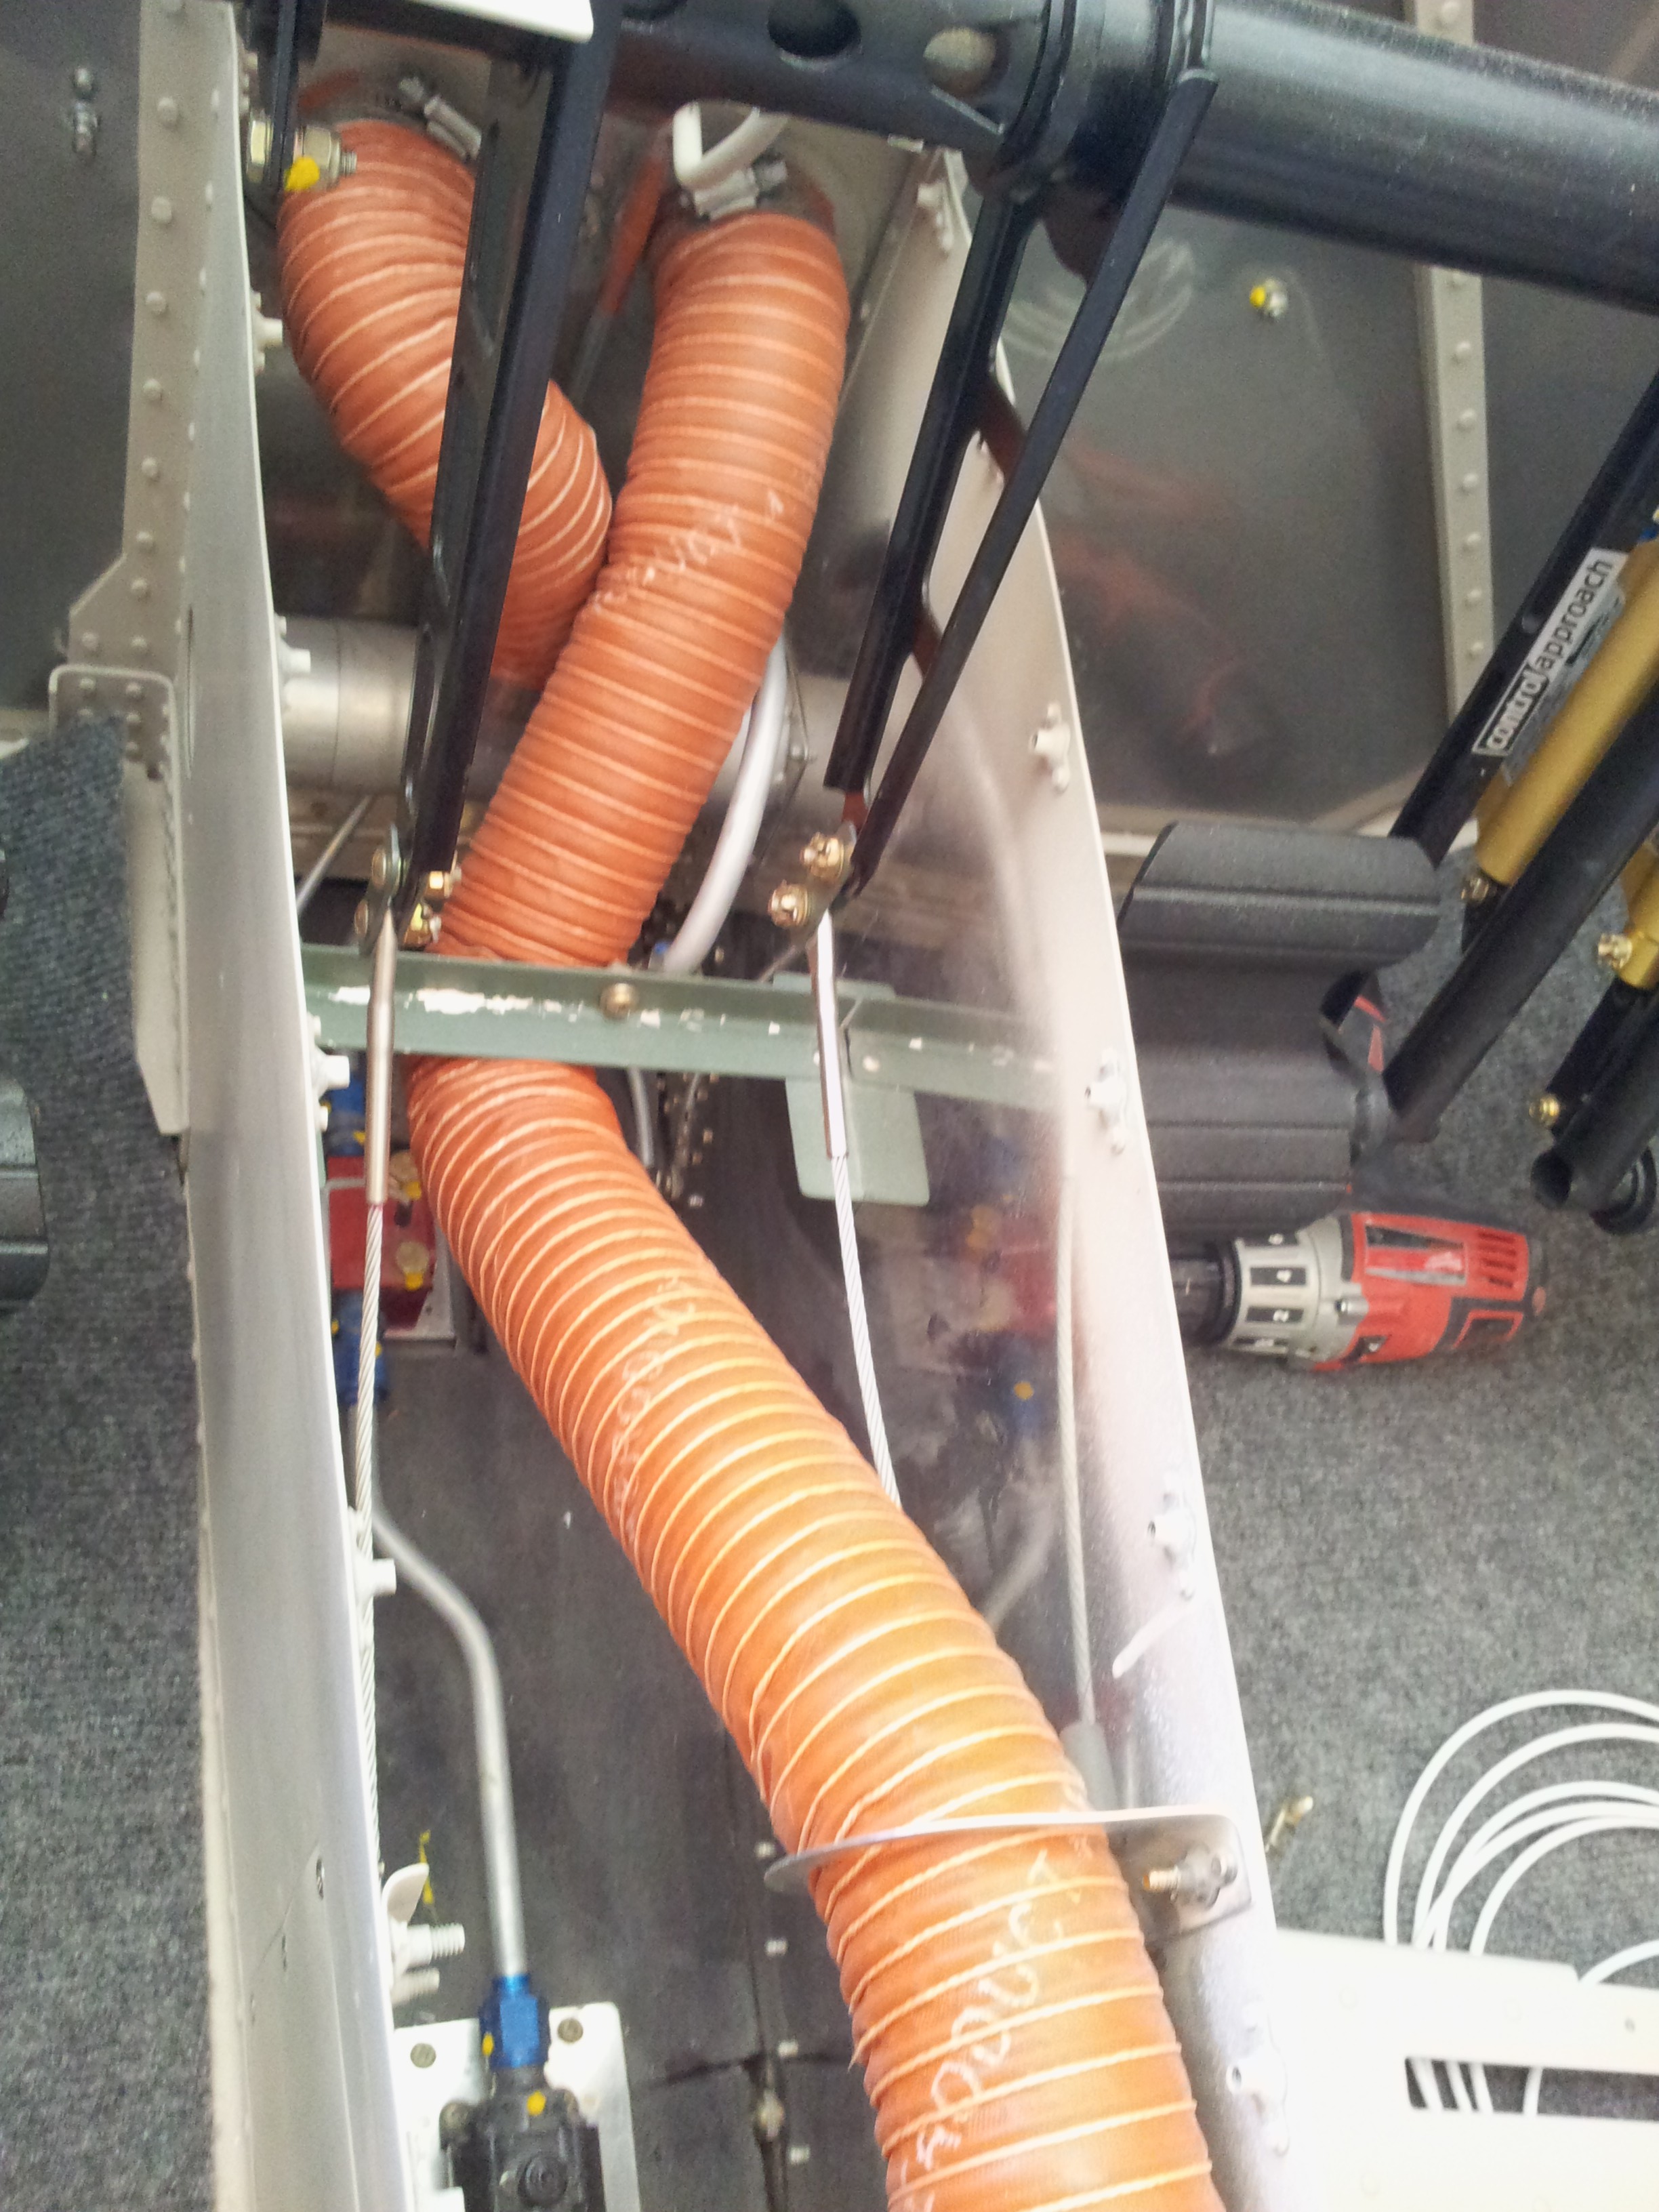
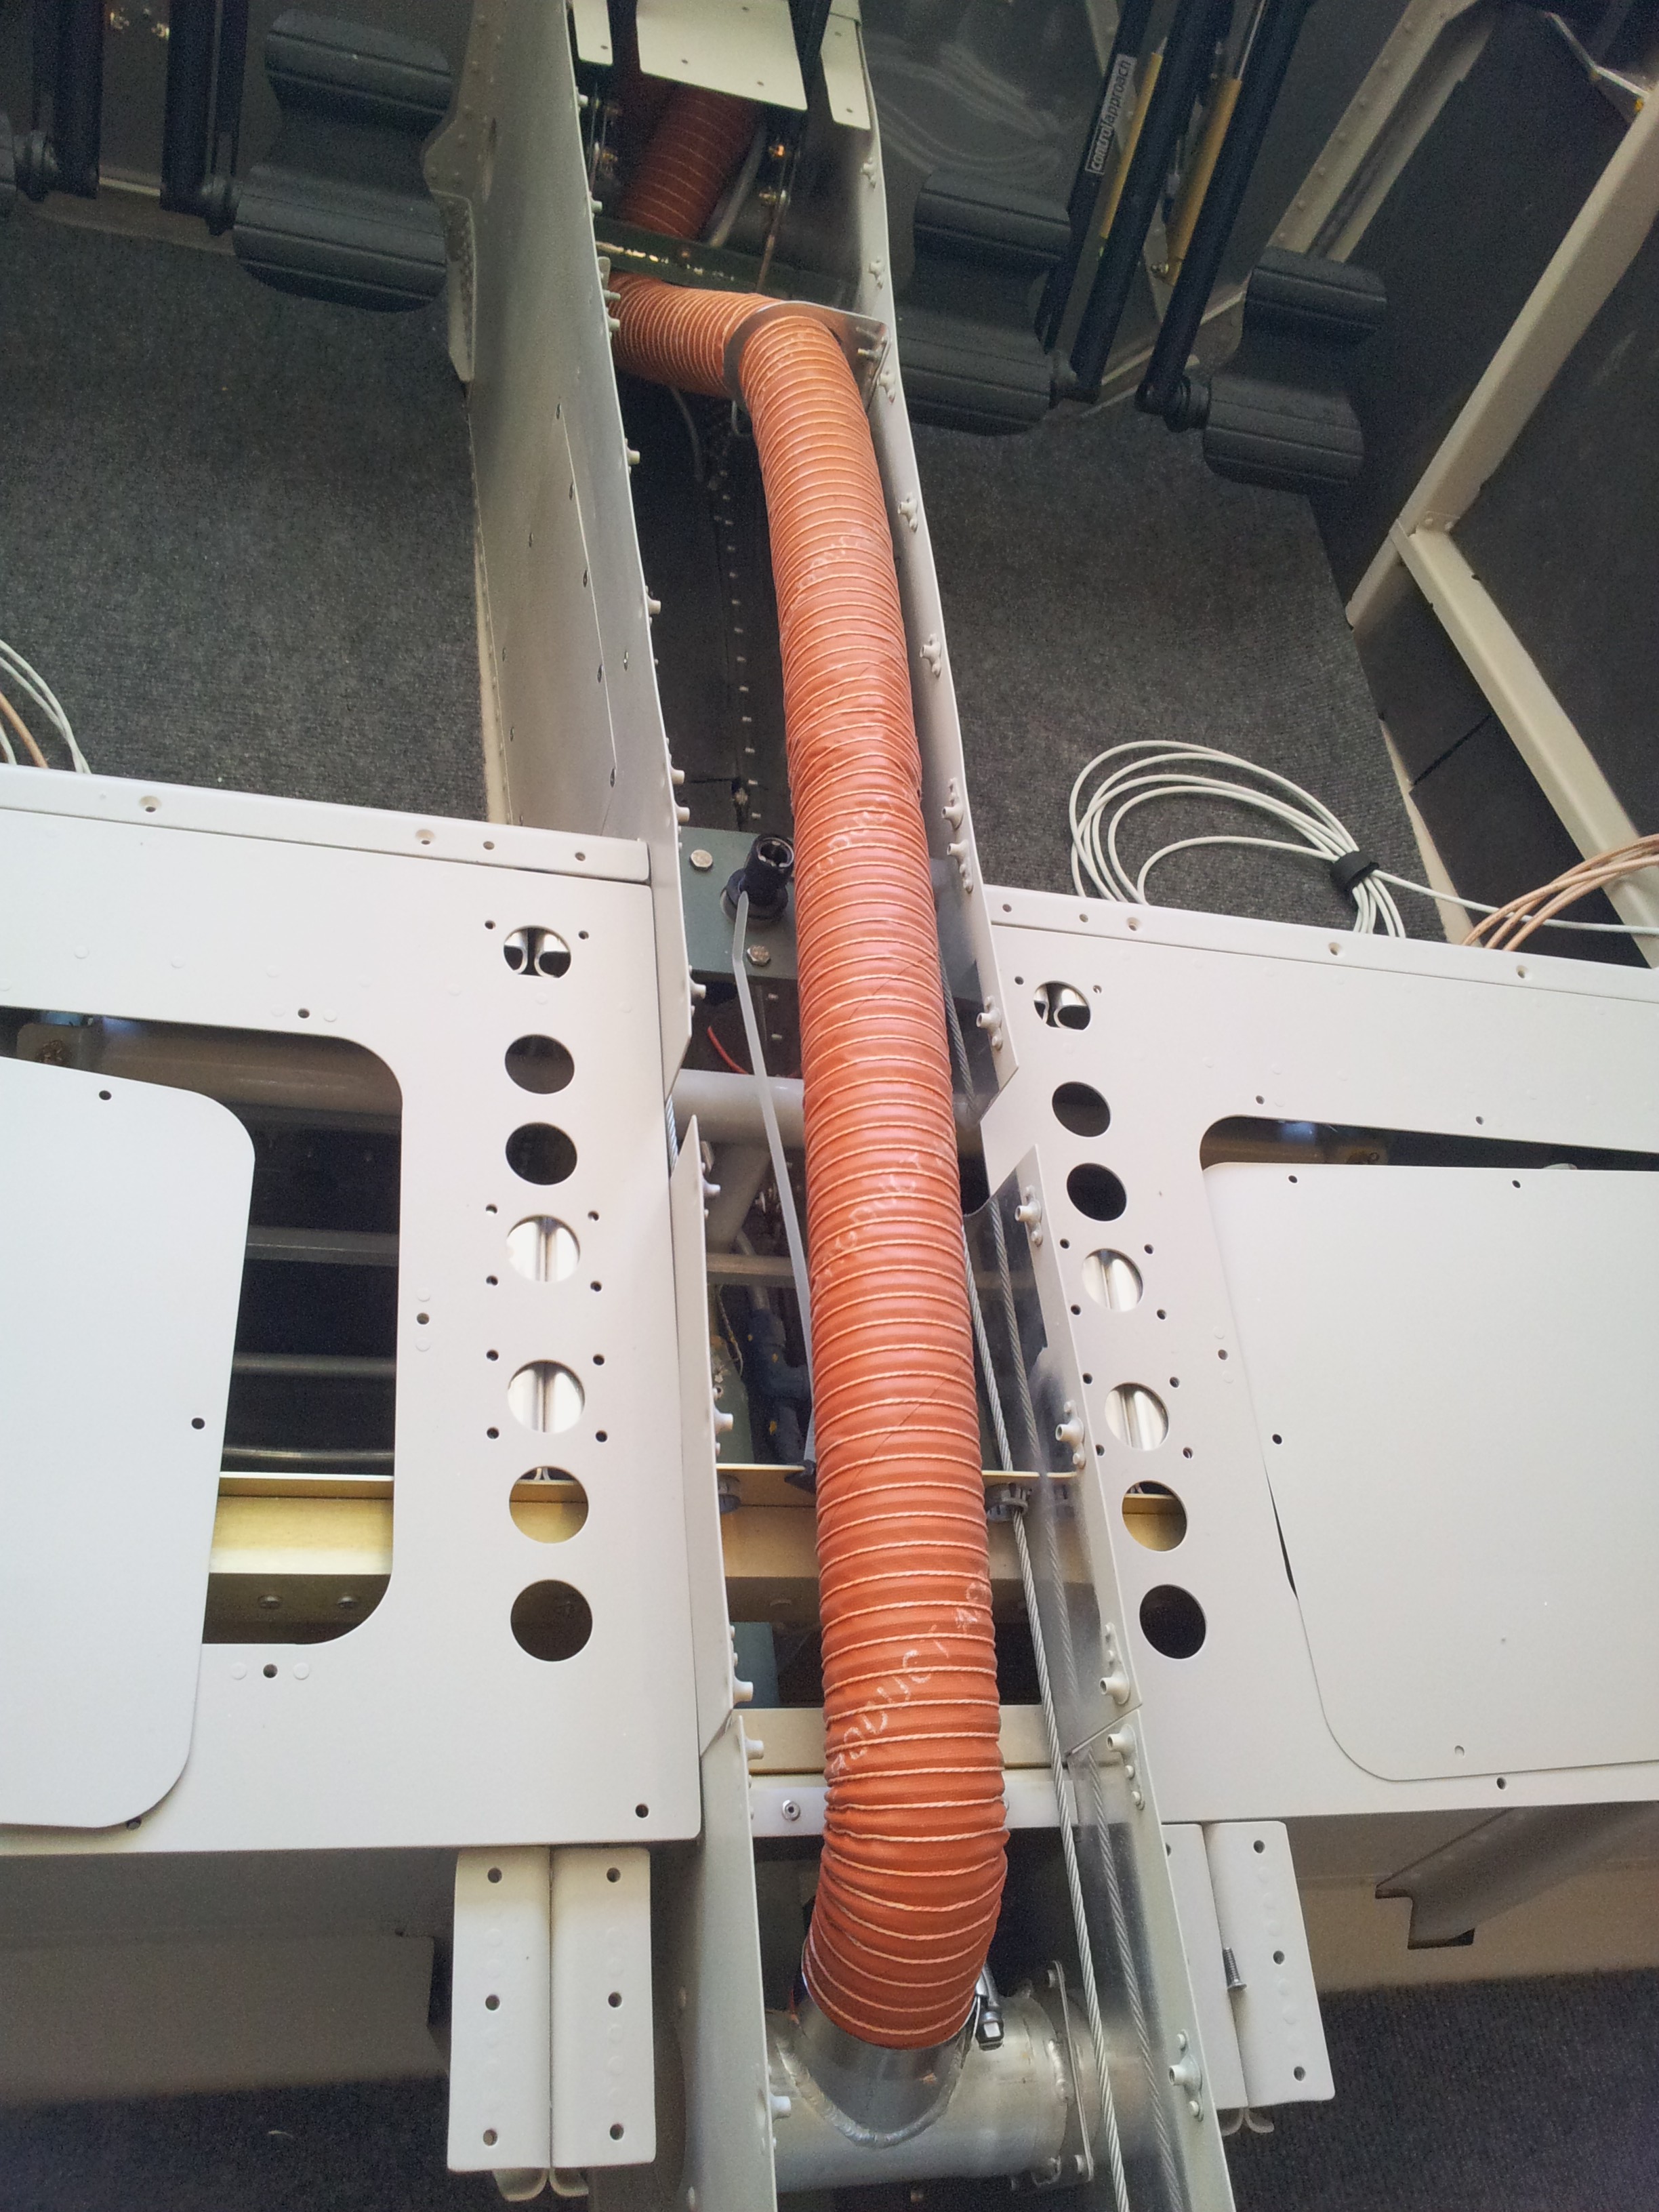
I installed the SCAT tubing that goes from the firewall to the front and the rear heat vent outlets. The front section gets a short 10″ line and is connected to the left inlet. The rear vents get connected to the right inlet and then run straight back. Well, I shoud say, that is how the plans call for it. Because of the cool Control Approach rudder pedals I had to re-route the scat tube. The default location causes the scat tube to be right next to the pedal/cable connection and will get in the way. Luckily I had cut the SCAT tube a little long (55″should be fine) and was able to route the scat UNDER the cross member I had added earlier. This member was originally installed to support the fuel line as it connected to the firewall. But in this case, it is also working to keep the scat tube away from the rudder pedals. I will use some high temp RTV to provide some chaffing assistance for the scat tubing against the cross member (and the other supports as called for in the plans).
Prior to running the SCAT tube to the rear vent area I cut and installed some rubber edging for the wing spar cutout to provide some chaffing protection. I applied the rubber with a small amount of contact cement and used a ziplock to hold the rubber in place as it dries (you can see the white/clear ziptie sticking out from under the SCAT tube in the rear connection picture). I will cut and remove the ziptie once the glue dries.
I used some of the contact cement to patch a few spots of the side insulation that I had previously pulled back so I could do the final rivets along the door opening. So I reapplied the glue and got the pieces firmly re-applied.
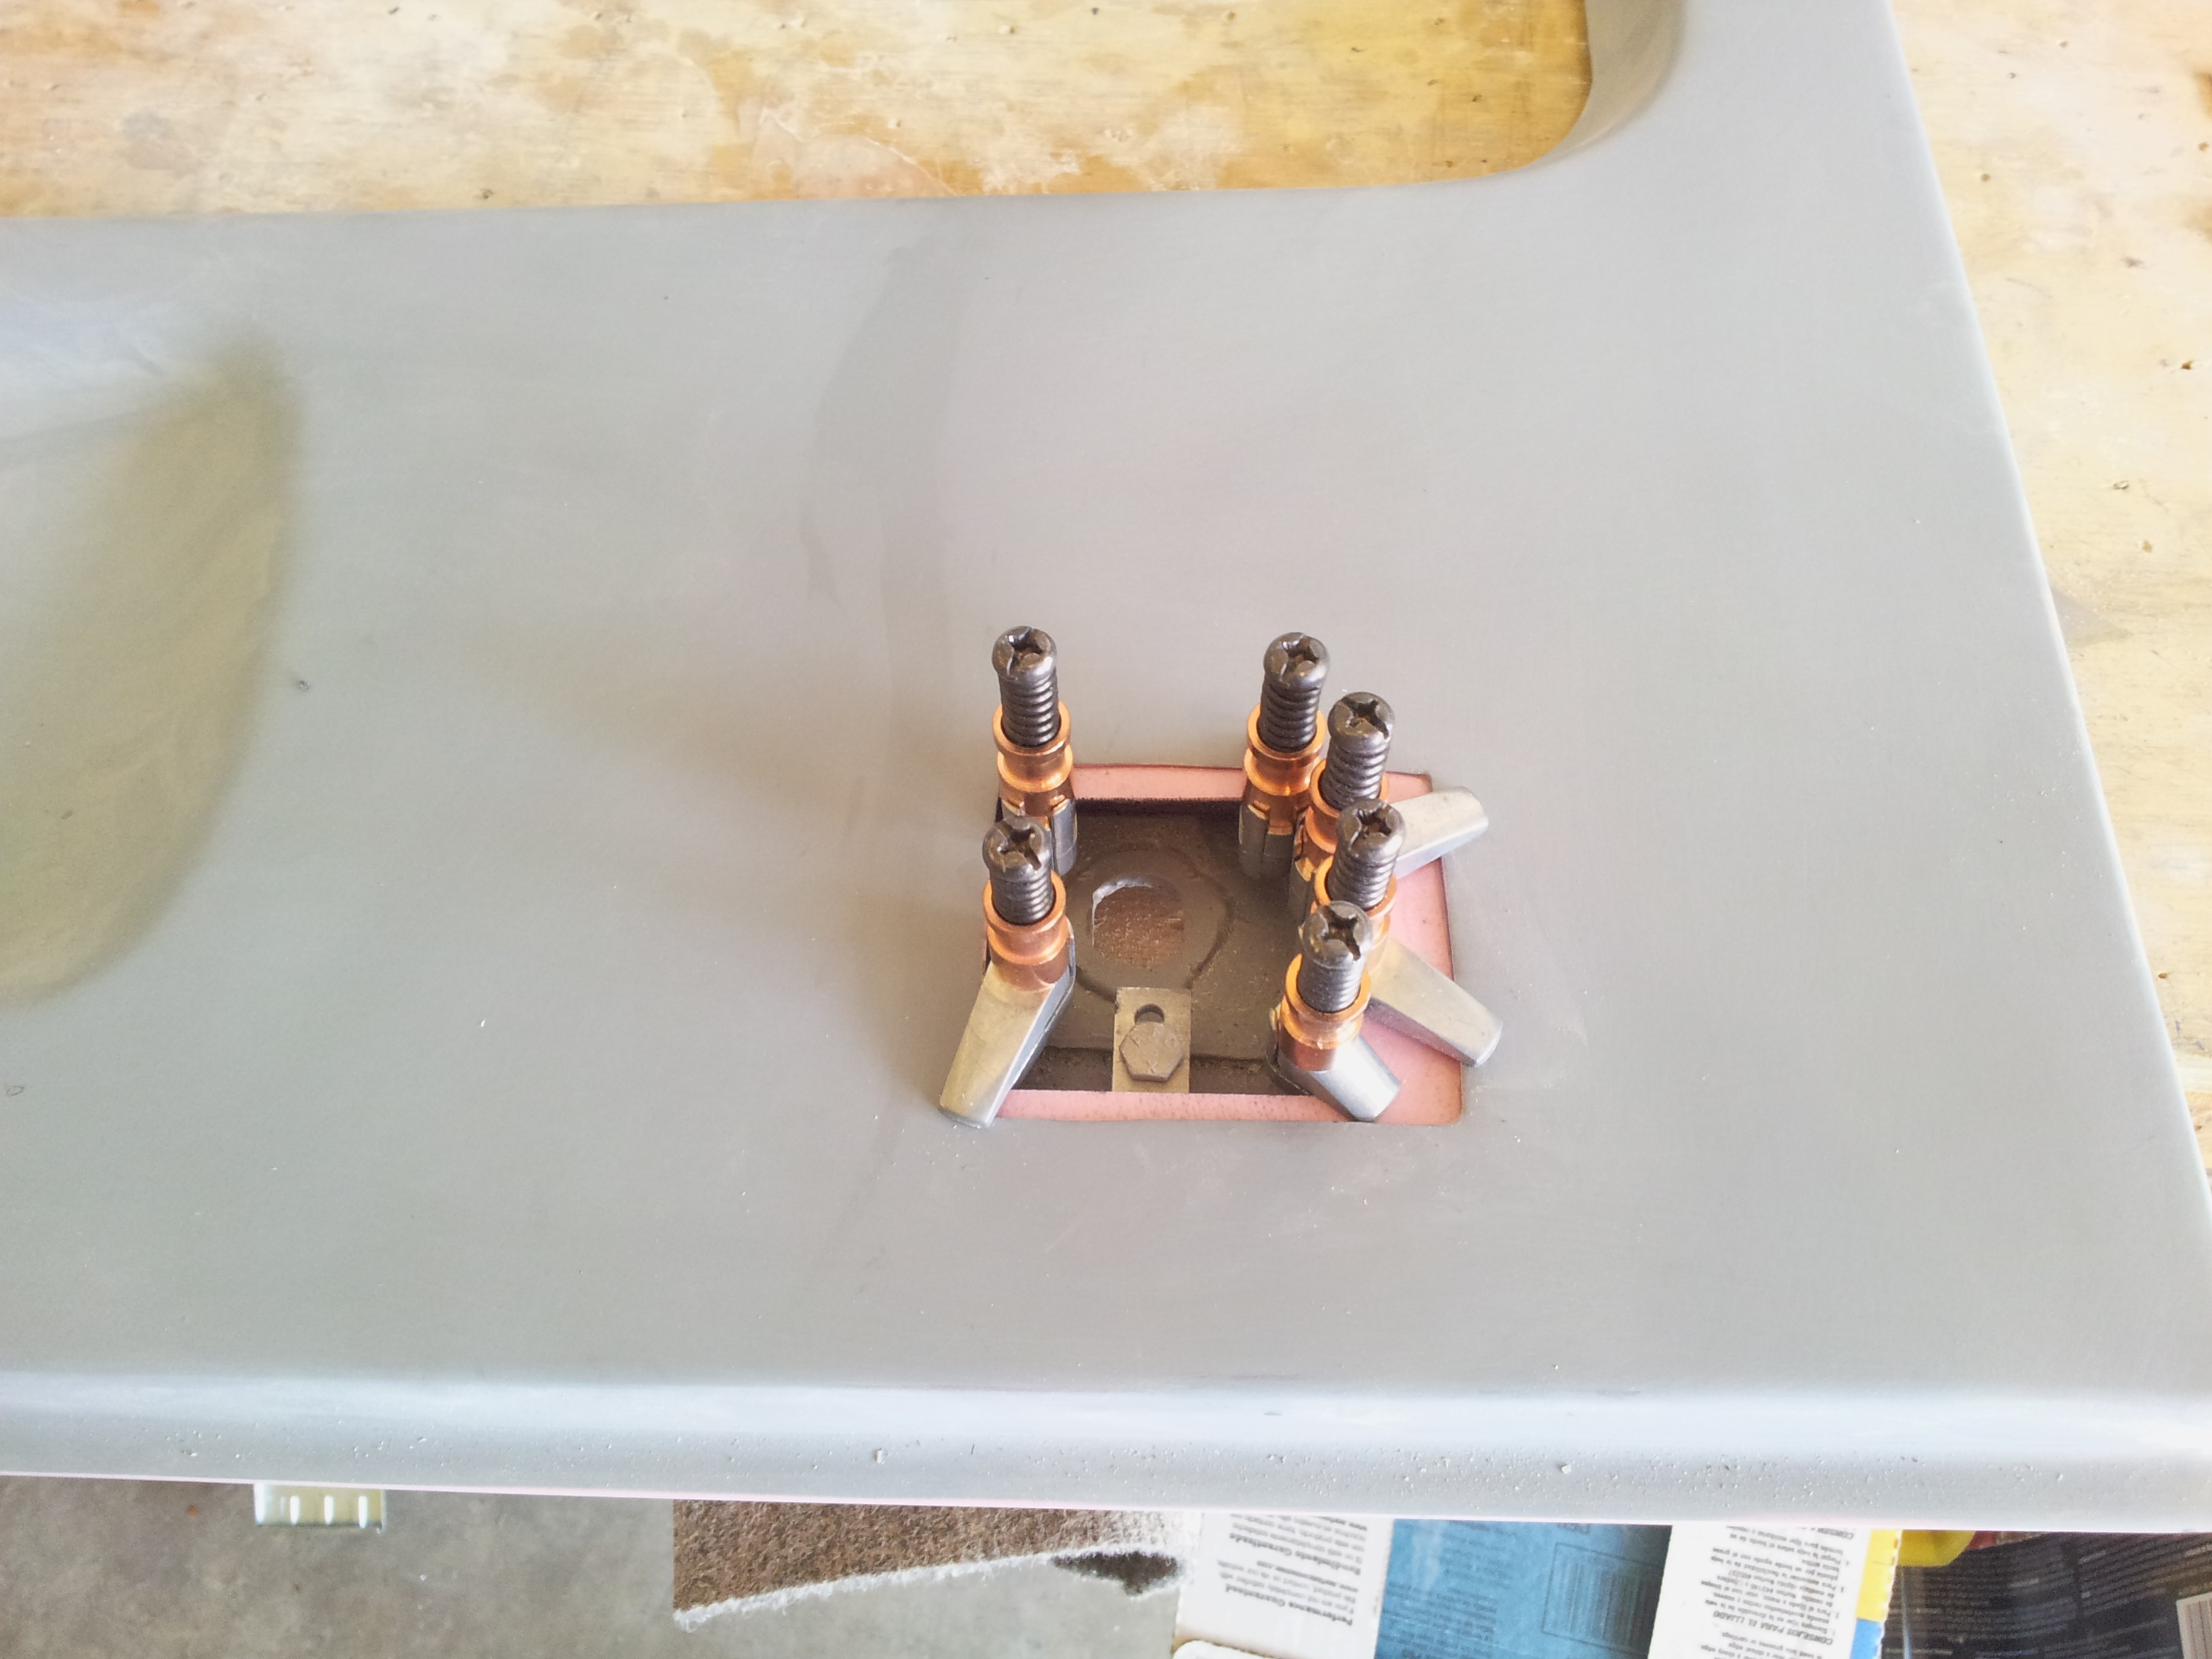
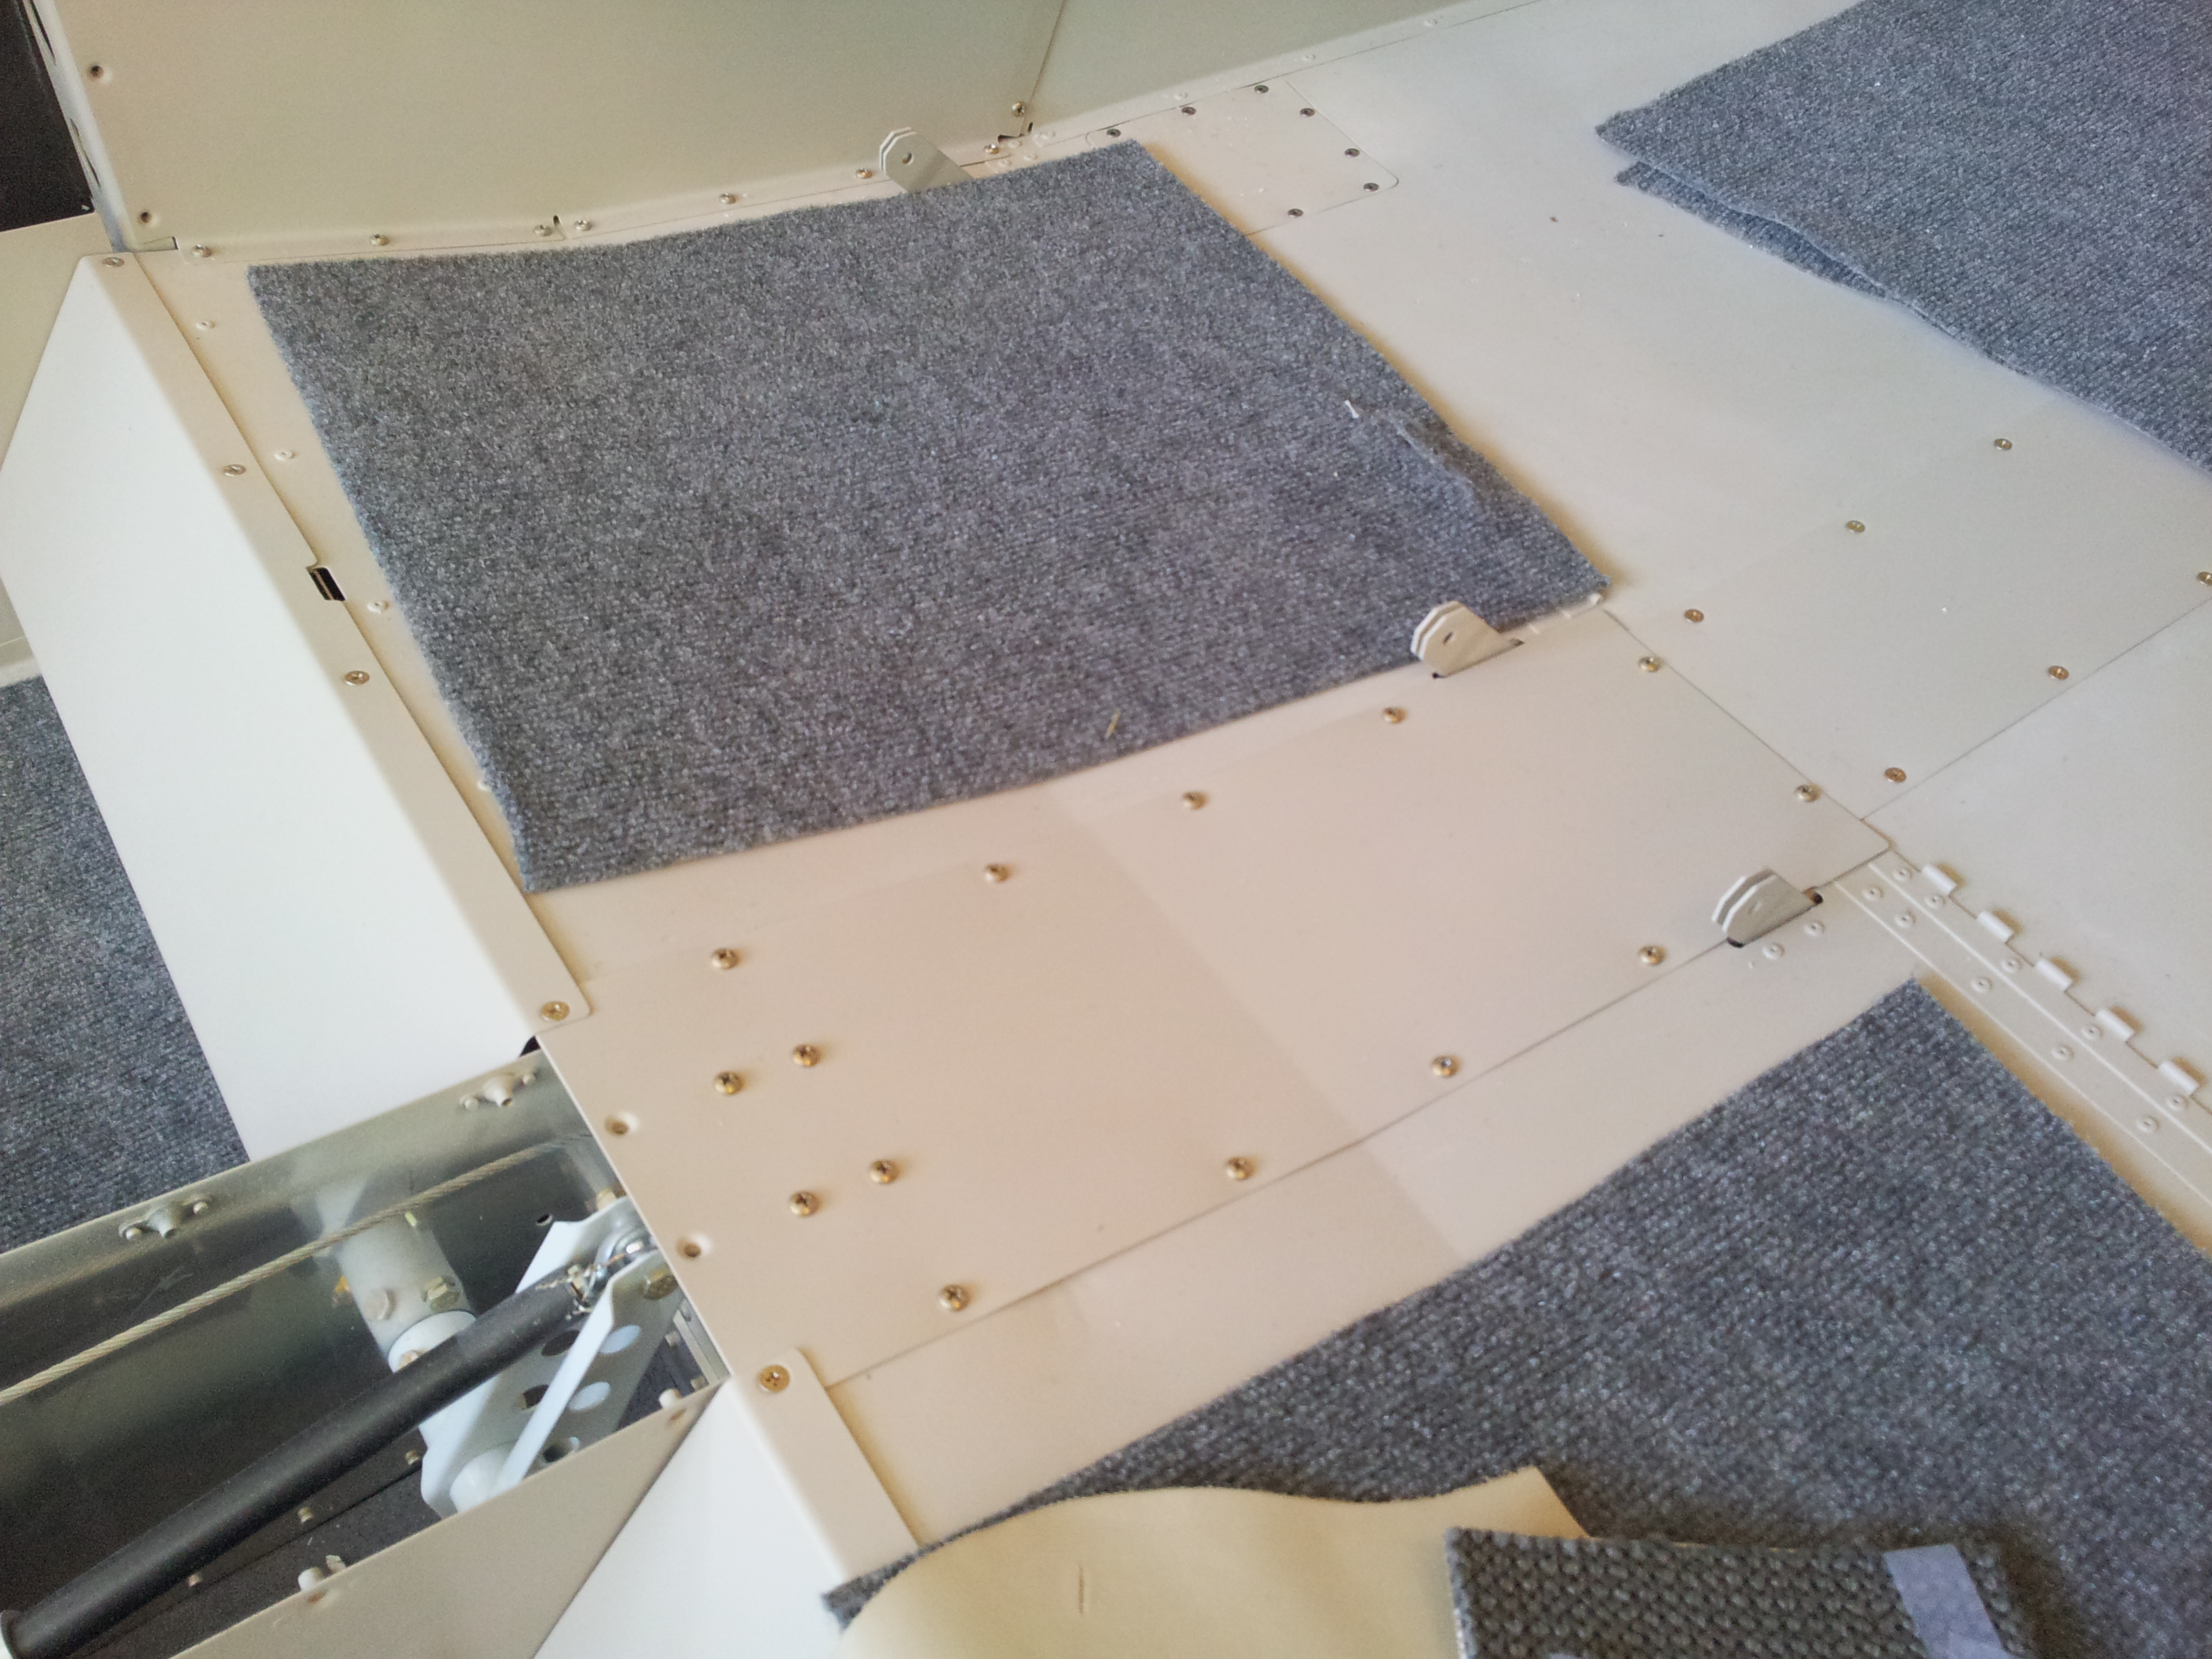
I installed the missing screw/bolt hardware for the co-pilot seat box forward cover. I had previously ran short of the AN515-8R8 pan head screws – they strip very easily. So I got those installed and also screwed in the mid tunnel cover which is under the bottom of the rear seat area.
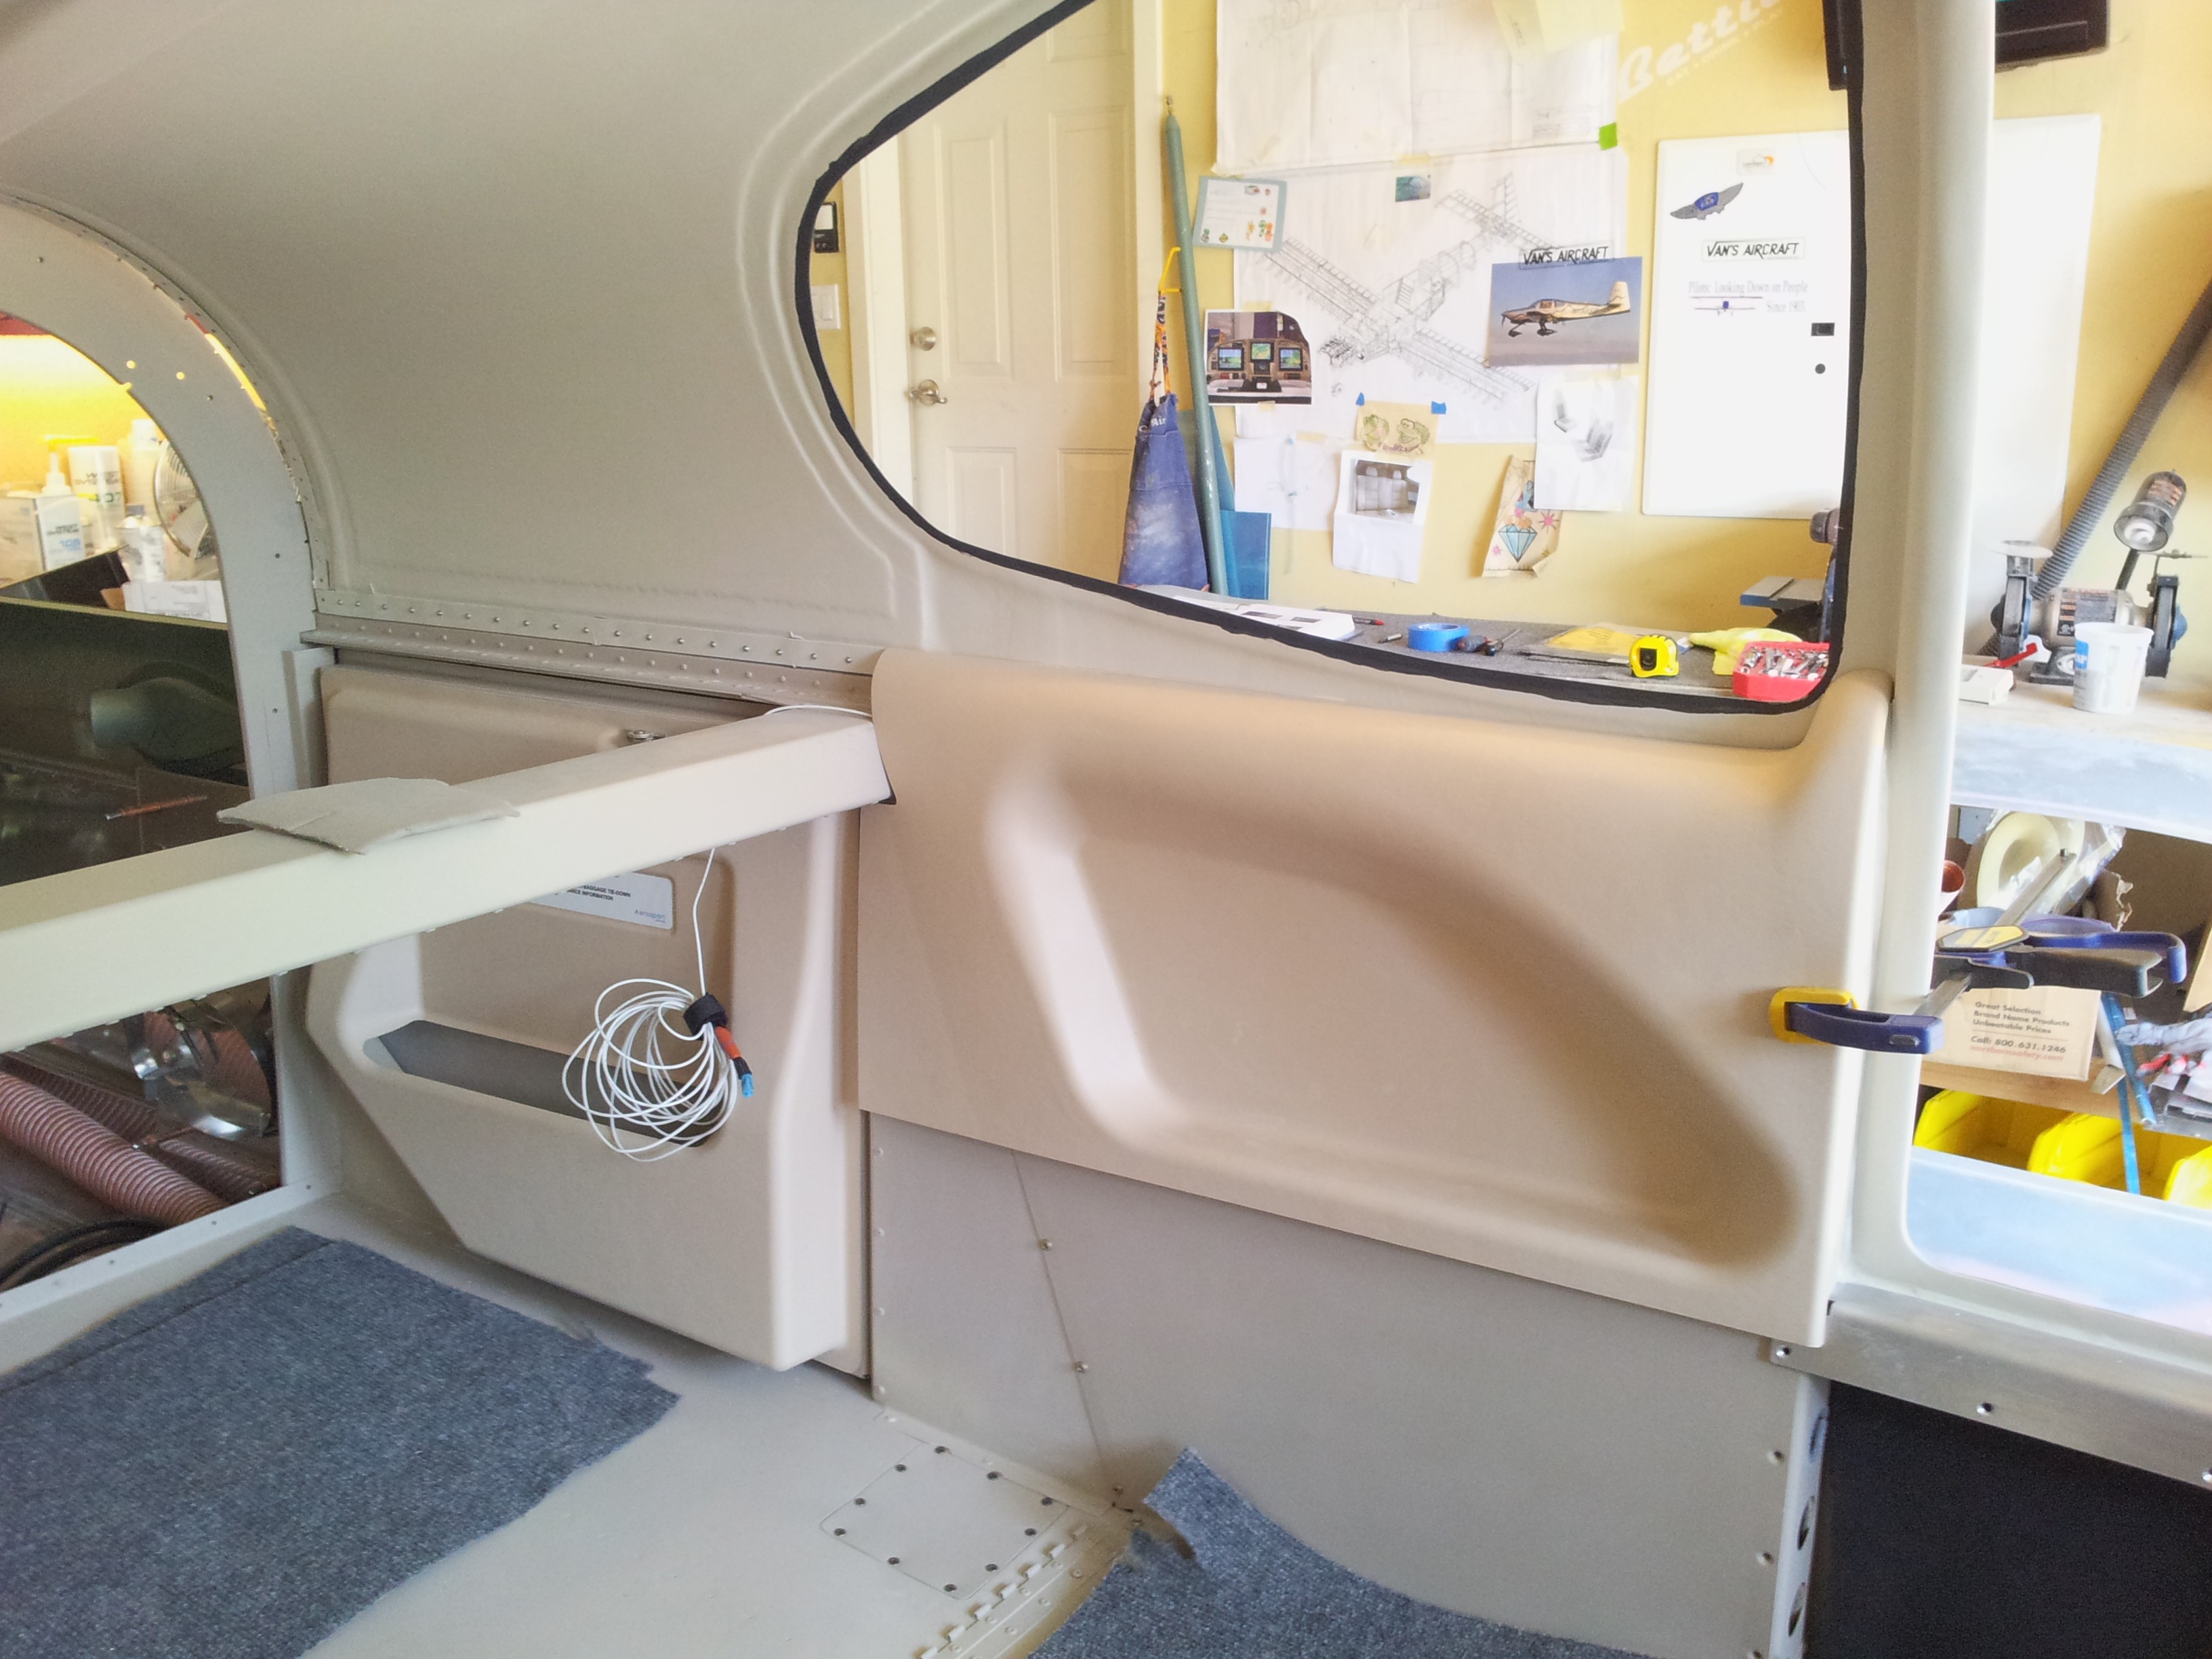
I started working on the side panels from Aerosport Products. I placed the left passenger side panel and had to only make a small trim on the forward bottom portion. I also had to remove one layer of foam in the cavity as it was too thick for the panel. I had two 1/8″ pieces, and really should have just used one in there. I drilled the holes for the forward two mounting screws and used a hole duplicator to drill a hole in the rear bottom of the panel that lines up the with the bottom panel. I did the same thing for the ride side passenger panel and also drilled the baggage cover behind it as well.
I used some sandpaper and sanded the oops holes in the left side rosen visor mount area. I worked my way from 400 grit to 1500 grit. Since the nuts themselves wont be seen, I just need to fix the accidentle holes and blemishes. So I mixed up some interior paint and shot the area twice. I will let this dry and then mount the visor.