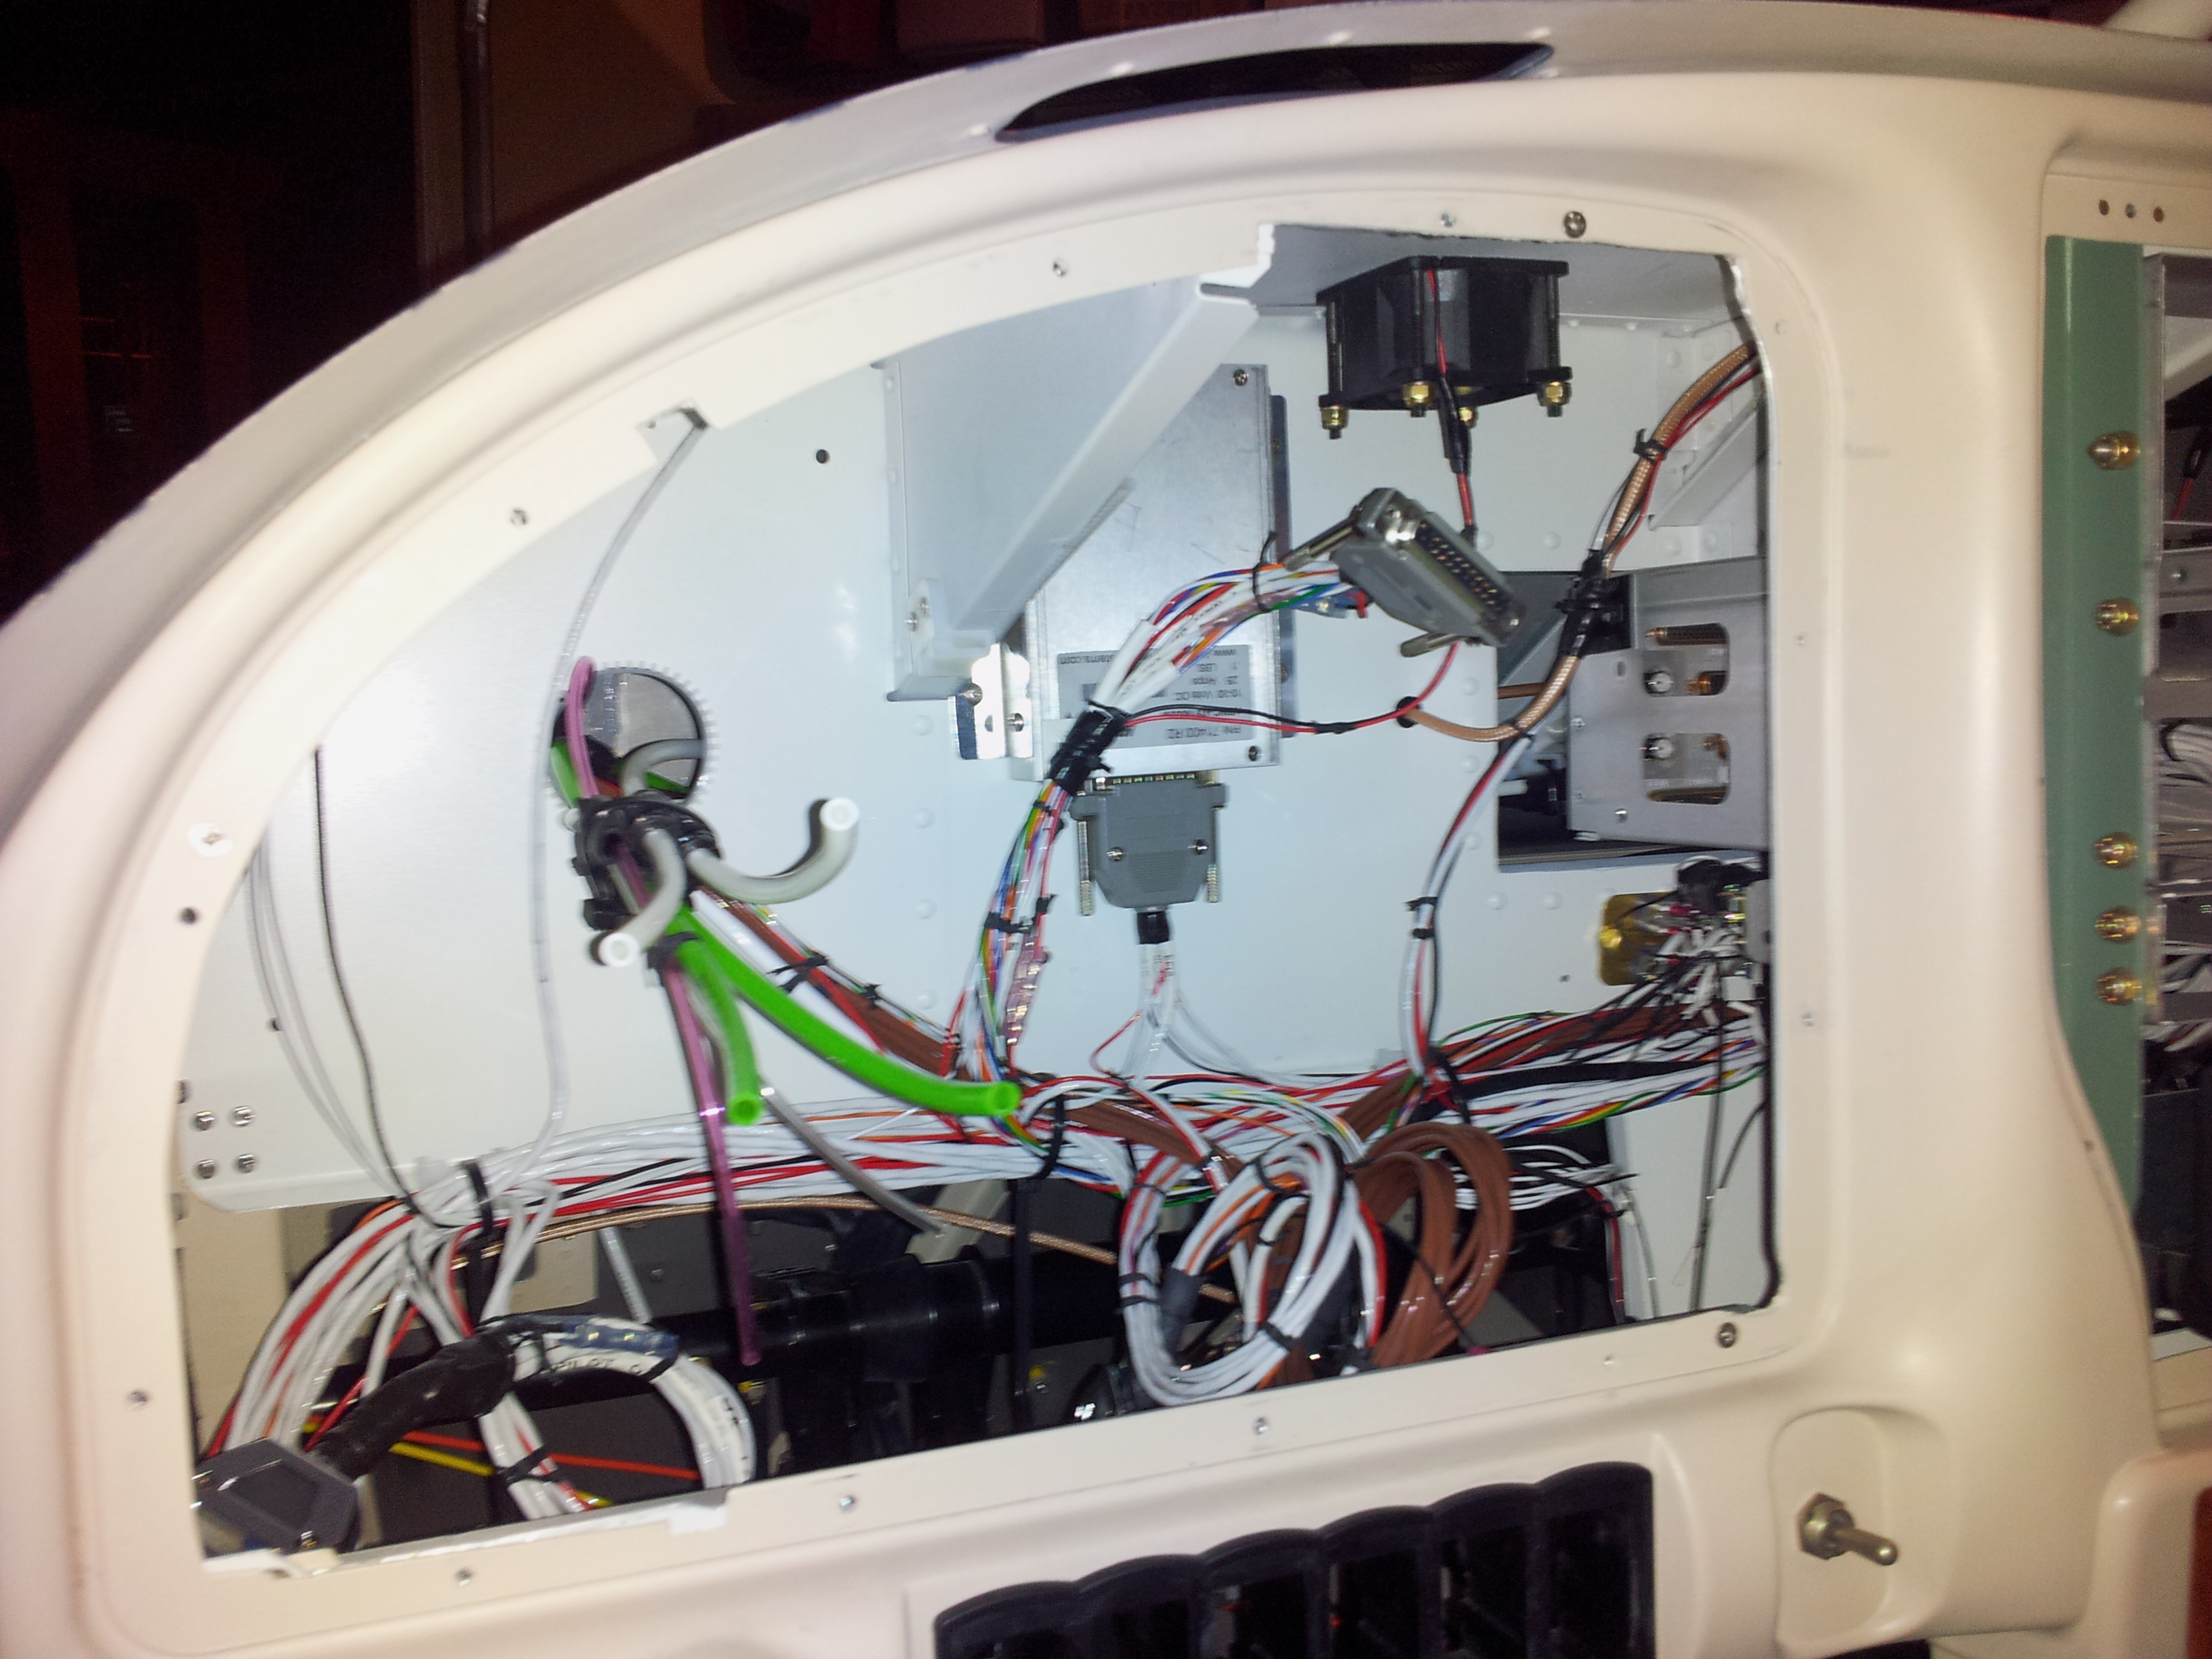
Today I completed running all the cables to their general location. Even though there was more conduit room on the right side of the plane, it took quite a bit of effort to get all the wires routed. That is because many of the wires on this side are single conductors for power and are smaller gauge. So that took some effort to gang them up and get them routed through the conduit. After more time than it should have taken, call the wires from the instrument panel were run into the fuselage and vice-versa.
I opened up the overhead console and sorted out the cables I had run the day before. I then routed the XM Radio antenna cable down the support and routed it to the XM Receiver in the panel.
I moved onto getting all the items wire up in the panel before I move back in the plane. I started with the MH Oxygen head unit since it was the first item on the left side of the panel. I connected the leads from all four oxygen distribution points and the cable from the oxygen tank itself. Luckily my shrink-tube label order arrived today so I could get all these labeled correctly. This harness was much easier or perhaps my skill has just improved. Once the harness was made up, I laced the cored and put in a service loop.
I then moved onto the AFS-Pilot Auto Pilot. This harness had already had the ARINC and EFIS cable run to it along with power. So I cut the Servo wires to length and crimped them and connected per the schematics. The power leads needed to be ganged as well as the ground wires. This harness was laced and secured to the mid-bulkhead wall as well for permanent use.
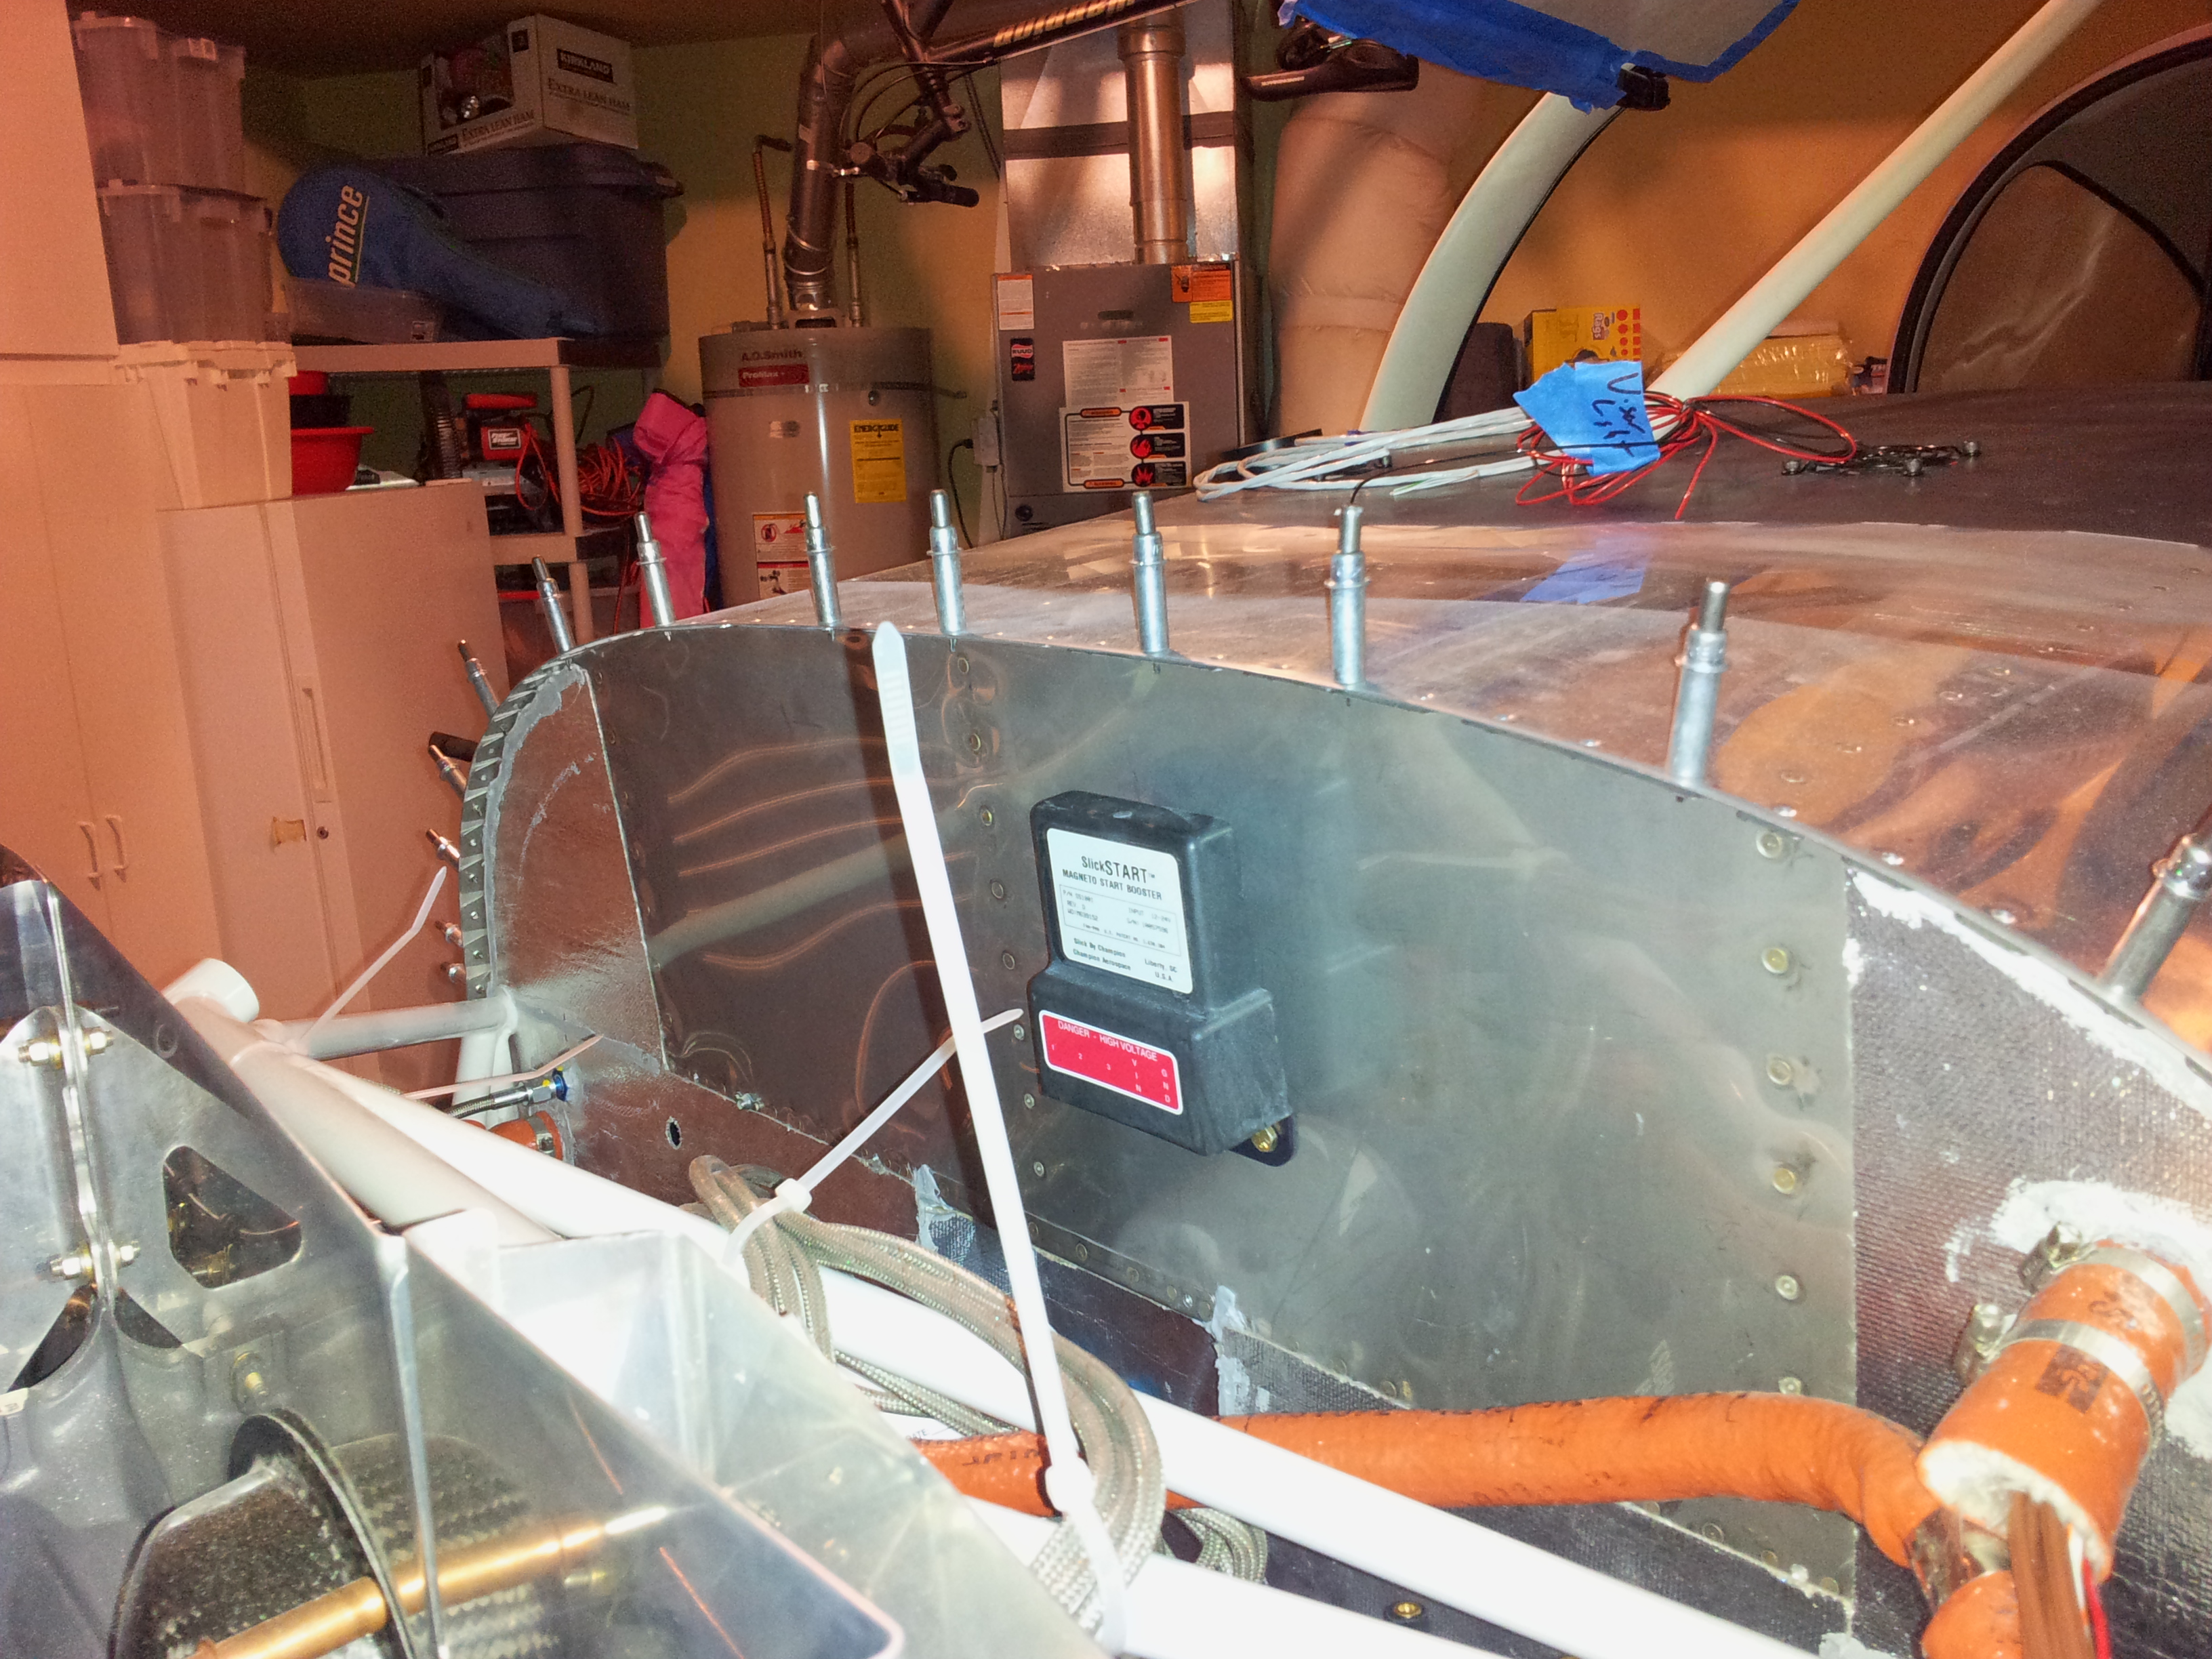
Lastly, I was able to get some Cherrymax rivets so I was able to blind rivet the remaining rivet holes in the firewall. Now I can remove the SlickStart, blanket the wall and re-attach all the accessories for final use. This means the brake lines can be attached and potentially even charged as all the other lines have been run.